3 CONFIGURATION
Logging in
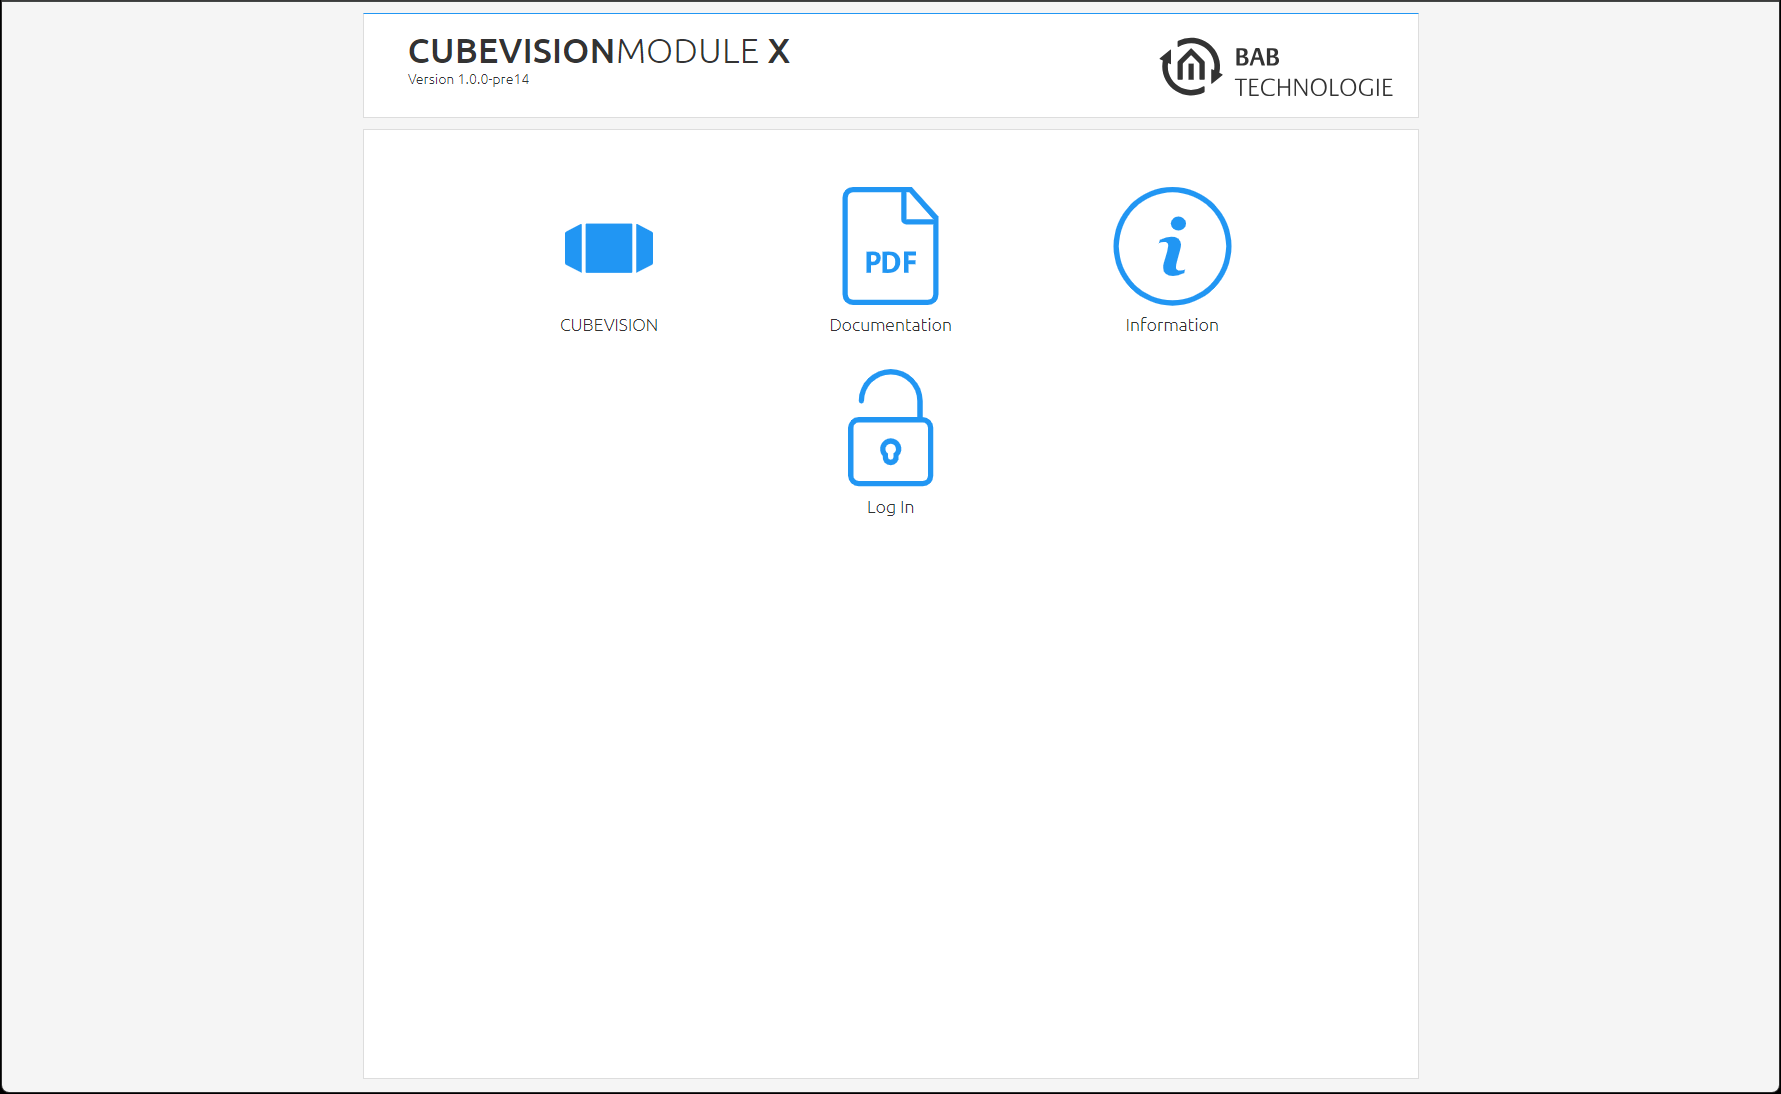
In order to access the configuration, you first must log in. To do this, click "Log In" at the top right of the browser window and enter your user data. In the condition on delivery, the user data is as shown below:
Username: admin
Password: admin
Login to the web interface
When logging in for the first time, you are asked to change the admin password. Please memorise the password, as the device cannot be reset!
General
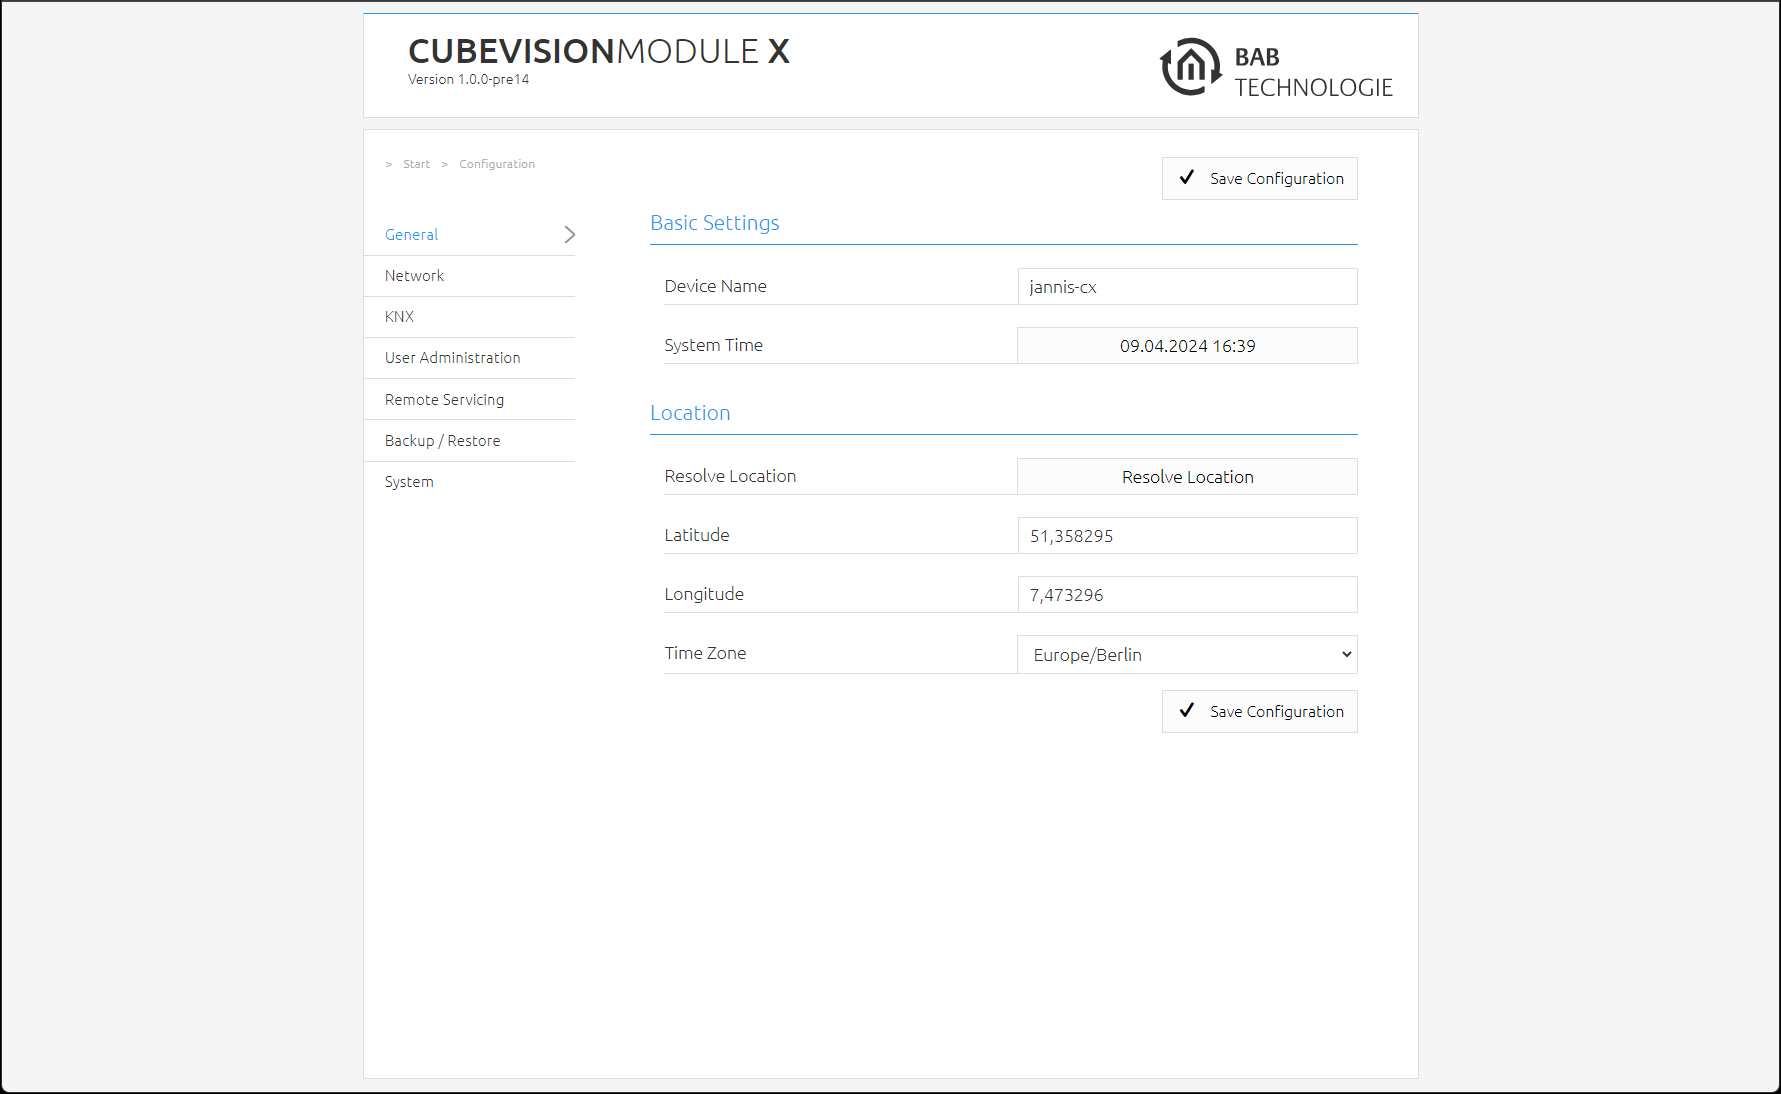
The following settings can be made in the "General" menu:
Configuration - General
Device name
Assign a unique device name in order to be able to distinguish the device from other devices where necessary. The device name is displayed in the DiscoveryTool and used as hostname [device name]. local.
Installation site
The installation site primarily determines the local system time of the device. Adjust to the correct time zone. The location can be entered manually. To do this, you need the correct information for latitude and longitude or determine the location automatically with the location determination "Determine location".
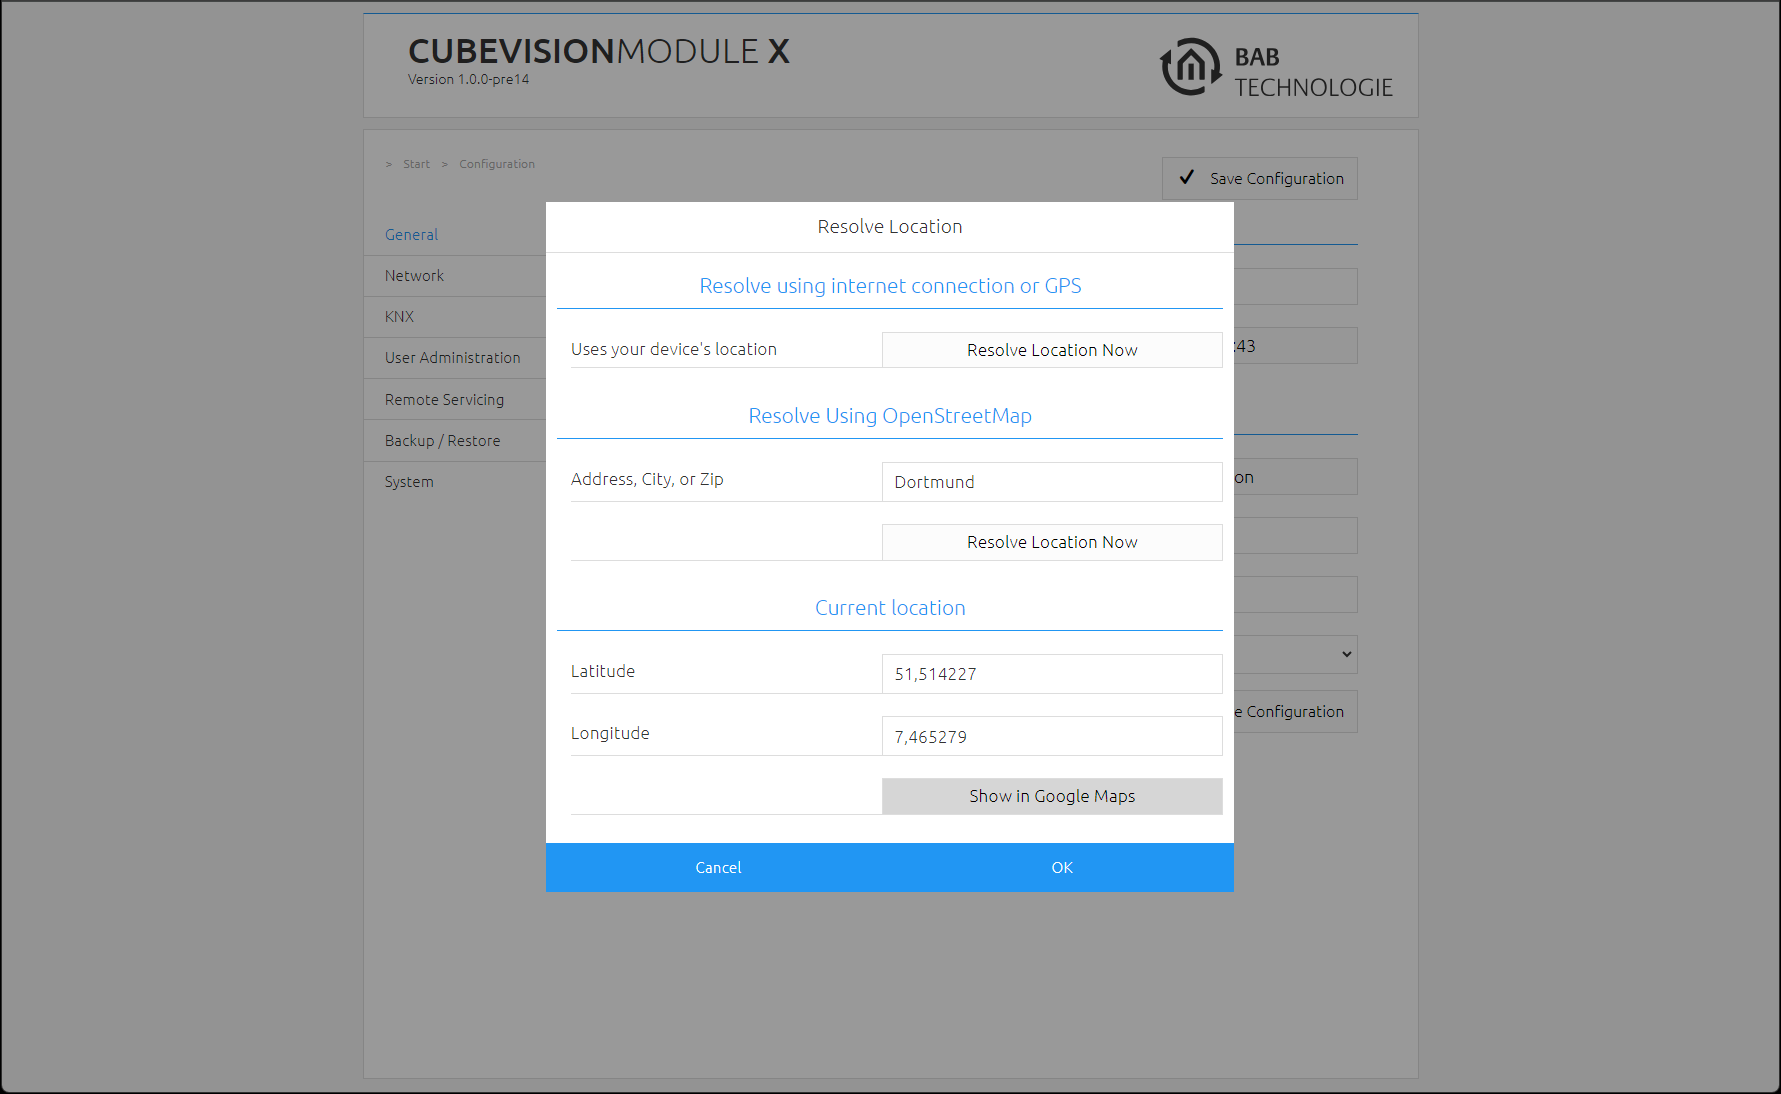
Determine location
System time
The current system time of the device is shown. By clicking the button, the system time of the device is synchronized with that of the local PC.
Since the CUBEVISION MODULE works with an internal status table which derives its time stamps from the system time, it is important that this time is correct at all times. Please ensure that the time is synchronised via an NTP time server or check the time manually.
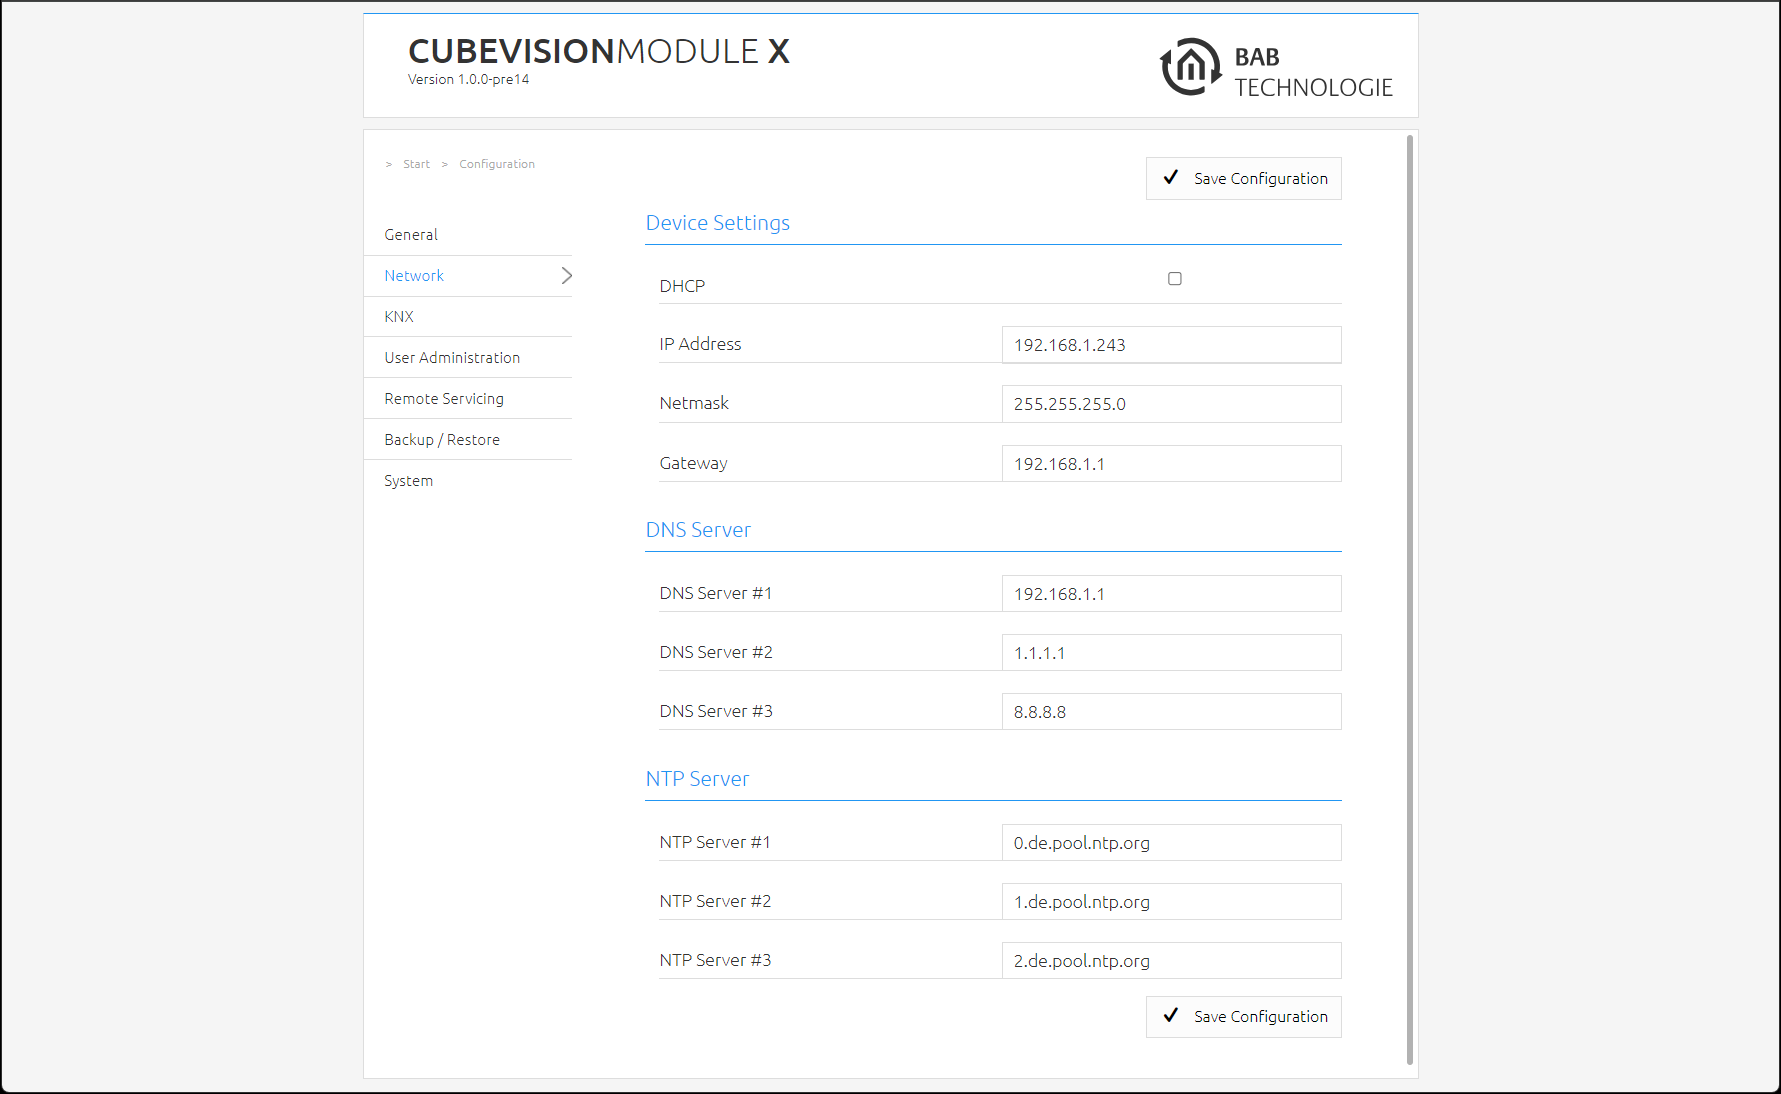
Network
In the "Network" menu item, several changes can be made, for example changing the IP address, DNS server or the NTP server. In addition, the DHCP can be switched on / off.
DHCP | If DHCP is active, the device automatically obtains the network settings. A DHCP server must be available in the local network. |
IP address | If DHCP is not activated, you must adjust the typical network parameters to the existing network. |
DNS server | DNS is the abbreviation for Domain Name System. The DNS server converts Internet addresses, for example "www.bab-tec.de " into the IP address 85.214.89.170 and vice versa. |
NTP server | Configure an NTP server in order to ensure that the device can synchronize its internal clock (system time). NTP server list: |
Network configuration
KNX
The KNX-specific settings of the CUBEVISIONMODULE X are made in the "KNX" menu. The KNX settings are available for a CUBEVISIONMODULE X KNX/TP (10562).
Physical address | Here, you can determine the physical address to be used by the CUBEVISIONMODULE X in the KNX network. Please make sure that the physical address corresponds to the installation site and does not occur twice. |
KNXnet/IP Tunnelling address | This address is used by the internal KNXnet/IP server for a KNXnet/IP tunnelling connection established to the device (using the CX as a programming interface). Please note that this address must not be the same as the physical address (see above) and that it must not be used by any other participant in the line either. |
KNXnet/IP Routing function | Activates KNXnet/IP routing for the coupling of lines and areas via IP. Can only be activated if the physical address corresponds to that of a line or area coupler. KNXnet/IP routing is based on multicast and all participants send a multicast group 224.0.23.12. Since multicast packages are usually not transferred by routers, "routing" only works within a subnet. |
KNXnet/IP Tunnelling function | Activates the KNXnet/IP tunnelling access to the device. This connection can be used to program KNX devices or to exchange data. The CUBEVISIONMODULE X is the server. The above-mentioned address is used as the physical address for the connection. For each address, only one connection can be established at any one time. On the TCP/IP layer, the connection is made by means of unicast to UDP port 3671. |
Telegram Rate Limiter | The telegram rate limiter limits the telegrams sent by the CUBEVISIONMODULE X to 10 telegrams per second. This prevents the KNX bus from being overloaded. If more than 10 telegrams are generated per second, the telegrams run in a buffer memory and are sent from this in small steps of max. 10 telegrams to the KNX bus. The buffer memory can store up to 1000 telegrams. If the buffer memory is full, new telegrams are rejected until the buffer memory has released memory again (telegrams are sent to the KNX bus). |
Click on "Save configuration" to save the settings,
-20240408-225918.png?inst-v=05195b2c-e211-48ec-8de3-e4e7a25f429f)
Configuration – KNX
Address Settings (virtual group addresses)
This section regulates the use of the "virtual group address area".
The virtual group address range can be completely deactivated. In addition, if the virtual group address range is activated, it can be determined from which group address the virtual group address range begins.

Address setting (virtual group addresses)
The virtual group addresses start by default (factory setting) with the group address 16/0/0 and go up to 31/7/255.
If the "virtual group addresses" checkbox is activated, the range of the virtual group addresses can be set individually if required.
To do this, enter the first KNX group address for the virtual group address range in the "Start of virtual group addresses" field.
This makes sense on the one hand if more KNX group addresses are required which can be sent on the KNX bus - but at the same time not to do without the virtual group address range in order to keep the telegram load on the KNX bus low.
For example, the start of the "virtual group addresses" can be set to 31/0/0. In this configuration, the CUBEVISIONMODULE X sends all group addresses up to 30/7/255 on the KNX bus and from group address 31/0/0 to 31/7/255 only internally.
If the virtual group addresses are deactivated ("Virtual group addresses" checkbox), the CUBEVISIONMODULE X sends all group addresses (from 0/0/0 to 31/7/255) to the KNX bus without exception.
Information: Telegrams from the virtual address range are not sent to the KNX bus, but can be used for internal communication in the CUBEVISIONMODULE X.
Test KNX Interface
KNX Address | Enter the desired Group address here. |
Switch a KNX Address | With this Button you can toggle a telegram on the desired group address. |
Read Address State | By clicking “Request Status” the group address state of the desired group address is requested and is shown in Pop-up window. |

KNX Configuration - Test KNX Interface
EIS3 Time Sender
With the set transmission interval (in seconds), the CUBEVISIONMODULE X cyclically transmits the current time on the entered KNX group address.
EIS4 Date Sender
The CUBEVISIONMODULE X sends the current date to the entered KNX group address with the set transmission interval (in hours).
DPT19.001 Date-and Time Sender
The CUBEVISIONMODULE X sends the time and date in a KNX telegram to the KNX group address entered here cyclically with the set transmission interval (in seconds).

KNX configuration - Time sender and date sender
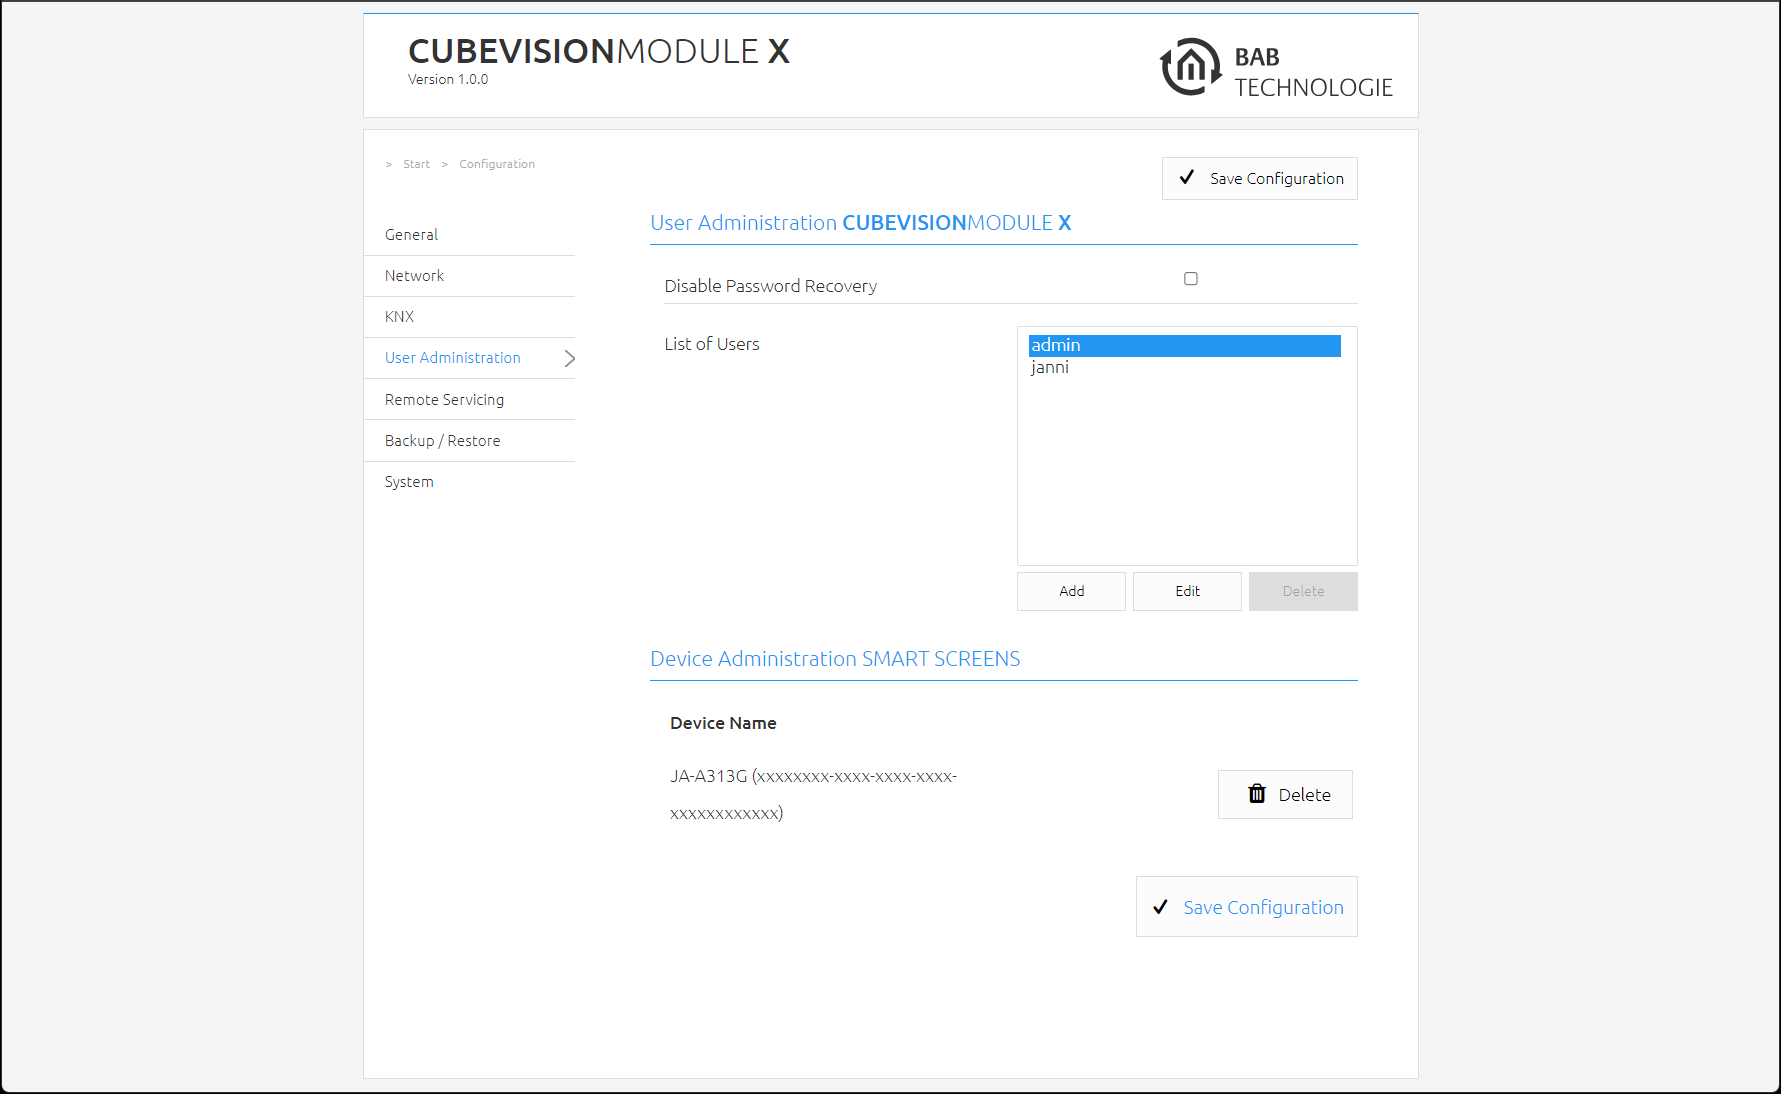
User administration
The user data required to access the CUBEVISIONMODULE X web interface is managed here. This user data has nothing to do with the user data for the visualization but is used to protect the configuration of the CUBEVISIONMODULE X. In order to change or add users, "User Administration" must be clicked in the "Configuration" menu item.
Disabling Password Recovery
If this option is deactivated, the device must be sent in if the admin user password is no longer known.
User administration
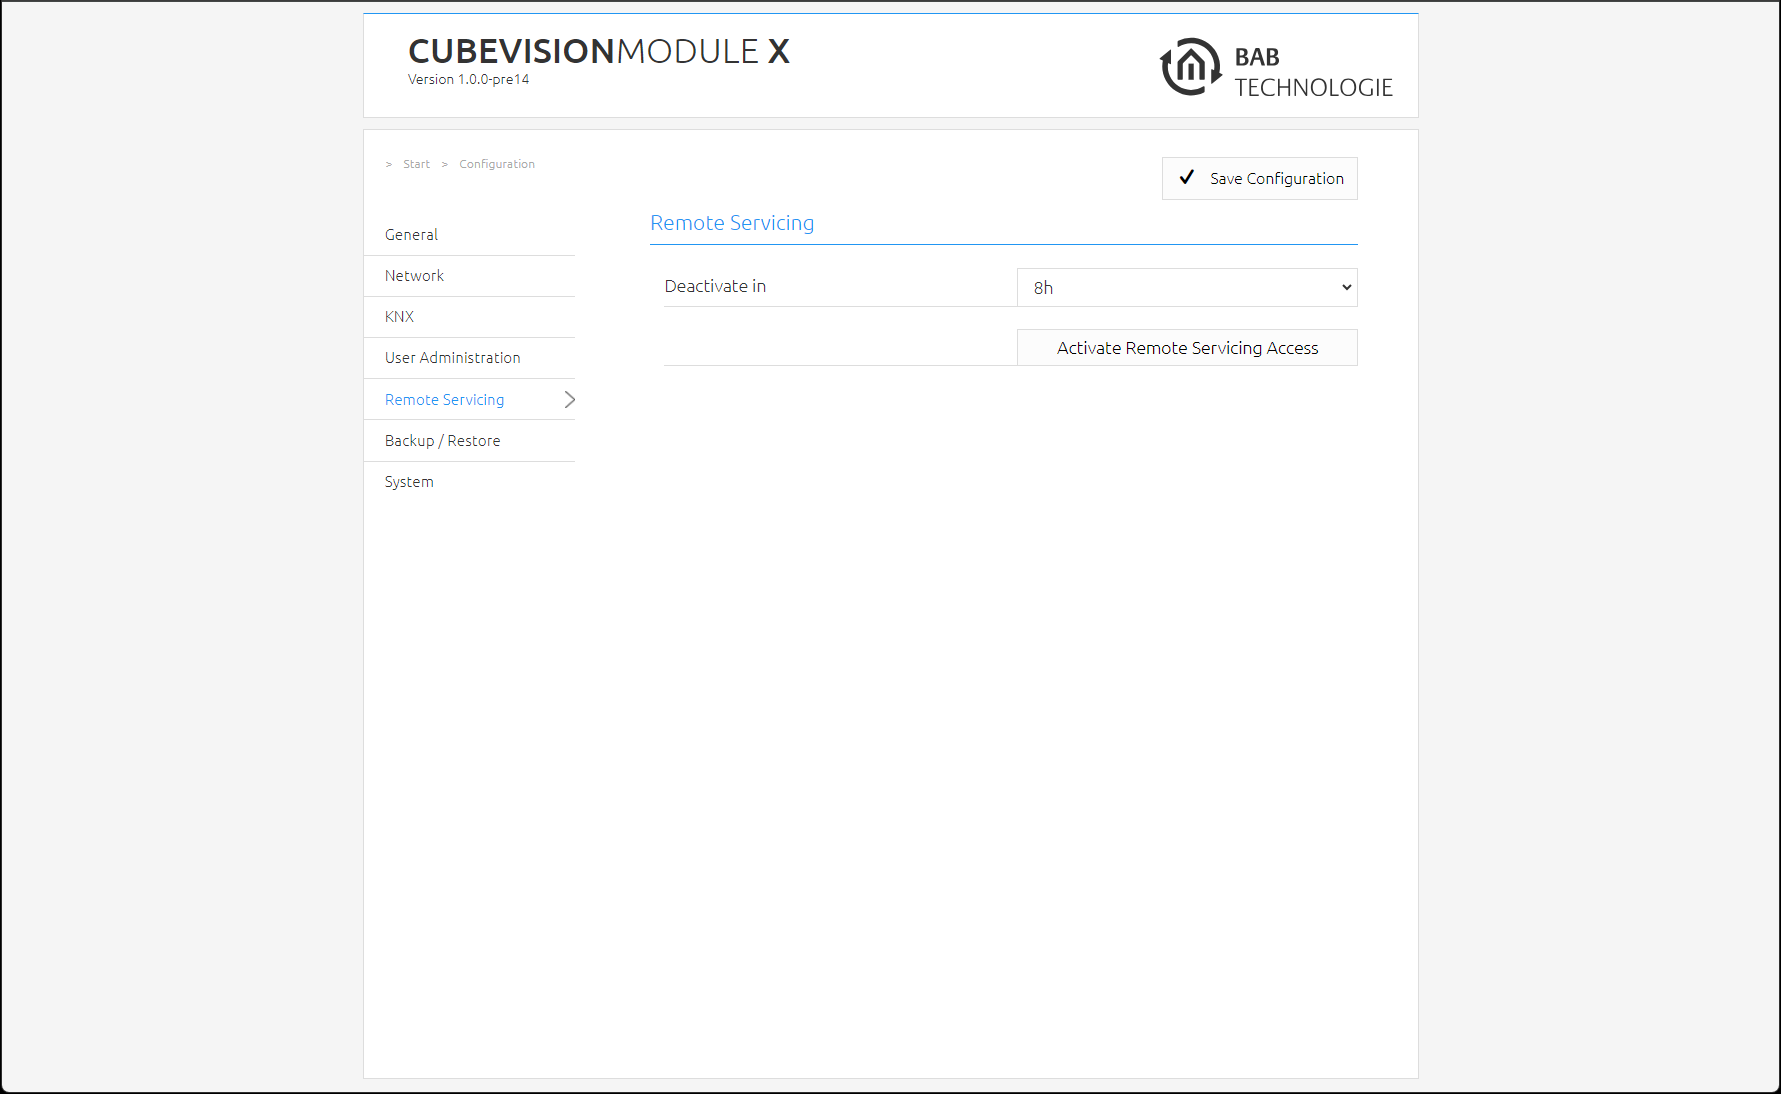
Remote Servicing
Activate the Remote Servicing Access of the CUBEVISIONMODULE X. Select a time between 2-12 hours after which the Remote Servicing Access is automatically closed. Remote Servicing Access is also deactivated again if the CUBEVISIONMODULE X is restarted; this is independent of the set time. Remote Servicing Access can be deactivated at any time by clicking on "Deactivate Remote Servicing Access".
Activate the Remote Servicing Access by clicking on "Activate Remote Servicing Access".
Remote Servicing access is started. This process takes a few seconds and the Remote Servicing Access ID is displayed. Copy the ID and send it to info@bab-tec.de.
Remote Servicing
Before you activate Remote Servicing Access, contact Support.
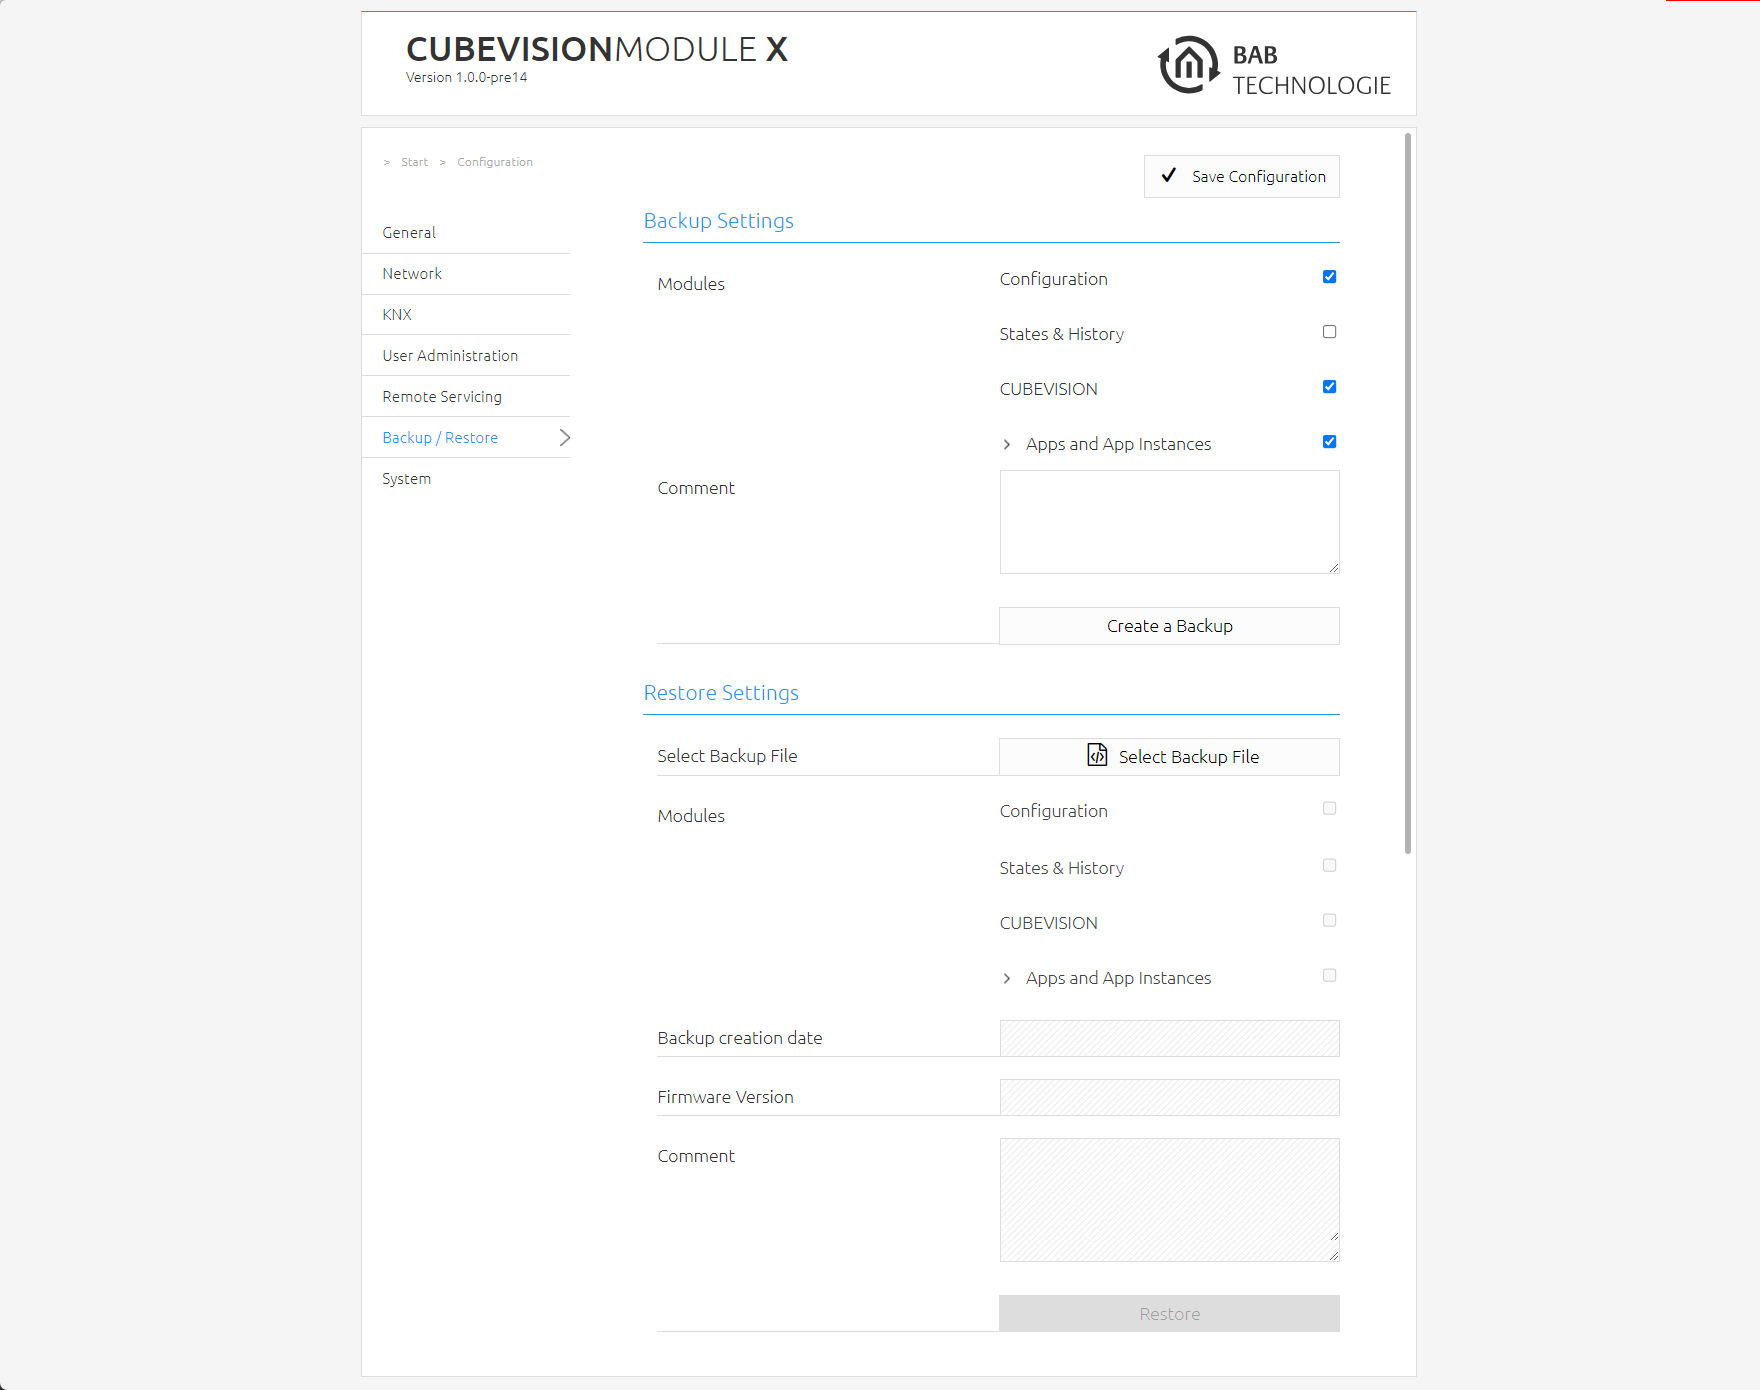
Backing up and restoring settings
For safety reasons, the configuration data of the CUBEVISIONMODULE X should be backed up at regular intervals in order to ensure that the current configuration status can be restored at any time. A current backup is also required for firmware updates.
Backing up and restoring settings
Creating a backup
By activating the check boxes in the "Modules" section, you determine which part of the configuration data is backed up.
Note: The network settings are not backed up but depend on backup data.
Configuration: All configuration data except for the CUBEVISION configuration data.
States & History: The Address State Table and History Table are backed up. This is important to receive status information of the saved project after a restoration.
CUBEVISION: Backs up the CUBEVISION configuration.
In the "Comment" field, comments on the backup can be added.
Click on "Create a backup" to initiate the backup process.
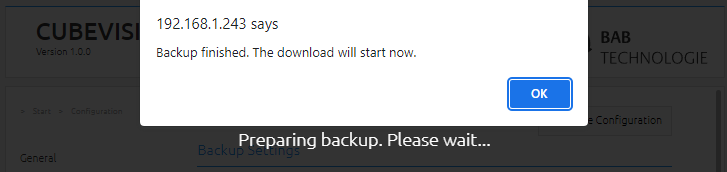
The backup file is created by the system and offered automatically for download in the form of the download dialogue.
Restoring a backup
The network settings are not backed up, but are independent of backup data.
Choose a CUBEVISIONMODULE X backup file via the "Select Backup File" button. The files have the ending "*.cvmx.bkp".
In the "Backup creation date", "Firmware Version" and "Comment" sections, information about the currently chosen file is shown.
In the "Modules" section, it is shown which modules are available in the chosen backup file. Using the check boxes, it is also possible to determine which modules are to be restored.
Configuration: All configuration data except for the CUBEVISION configuration data.
States & History: The Address State Table and History Table are restored. This is important in order to receive status information in the CUBEVISION after a restoration.
CUBEVISION: Restores the CUBEVISION configuration data.
SYSTEM / FIRMWARE UPDATE
The firmware update is free of charge. The current firmware files can be found on the BAB homepage. To update the device, please proceed as described below:
Download the current firmware image in the download section www.bab-tec.de
Unpack the file in any folder.
Generate a new backup including all apps and app instances before you launch the update (see “Backup the settings”). The update process restores the factory settings.
Open "Configuration" – "System"
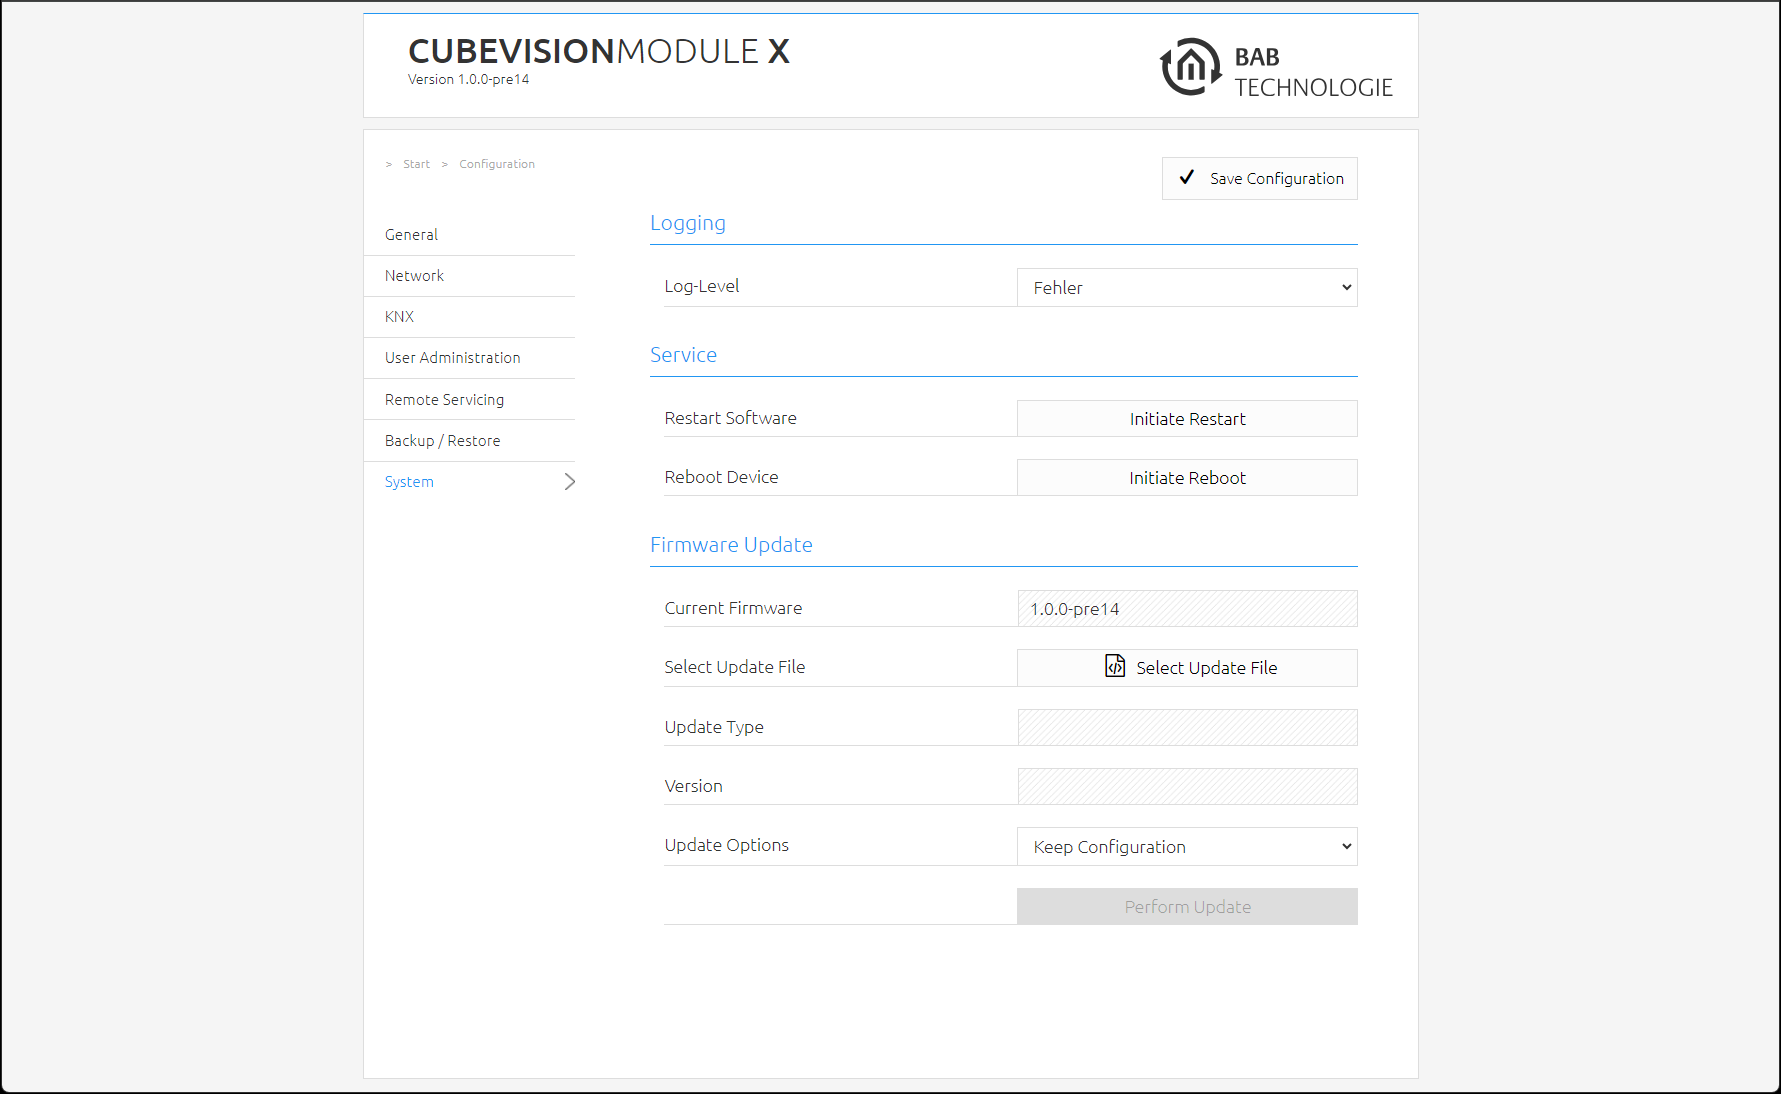
Configuration – System
Select the firmware image file (ending *.bin) via the "Select Update File" dialogue. The type and version of the update are shown
Decide how to perform the update. The following update options can be selected:
Retain configuration: causes the configuration of the CUBEVISIONMODULE X to be restored after the update. TO BE ON THE SAFE SIDE, CREATE A BACKUP ANYWAY.
Keep network settings: causes the network configuration to be retained after the update. All other configurations are reset.
Reset configuration: resets the CUBEVISIONMODULE X to the factory settings after the update.
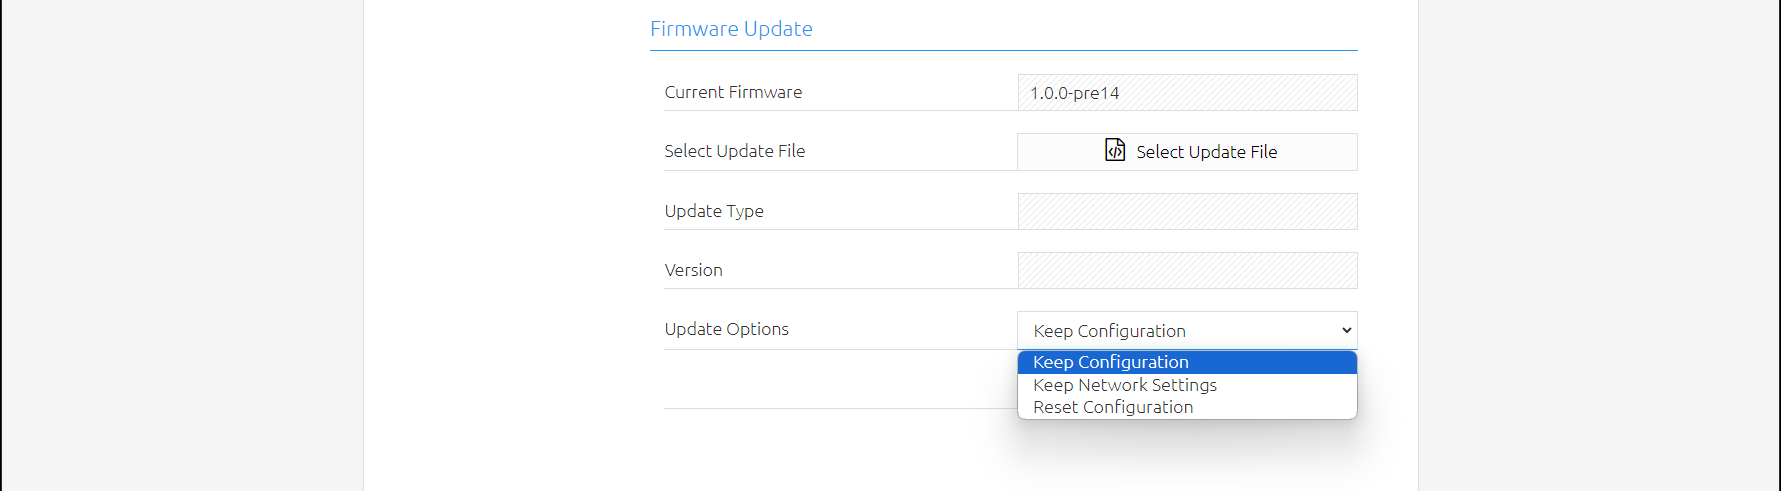
Update - Optionen
If the "Reset configuration" option is selected, the CUBEVISIONMODULE X can be reached under the default IP address after the update process.
Start the update process by clicking on "Perform Update".
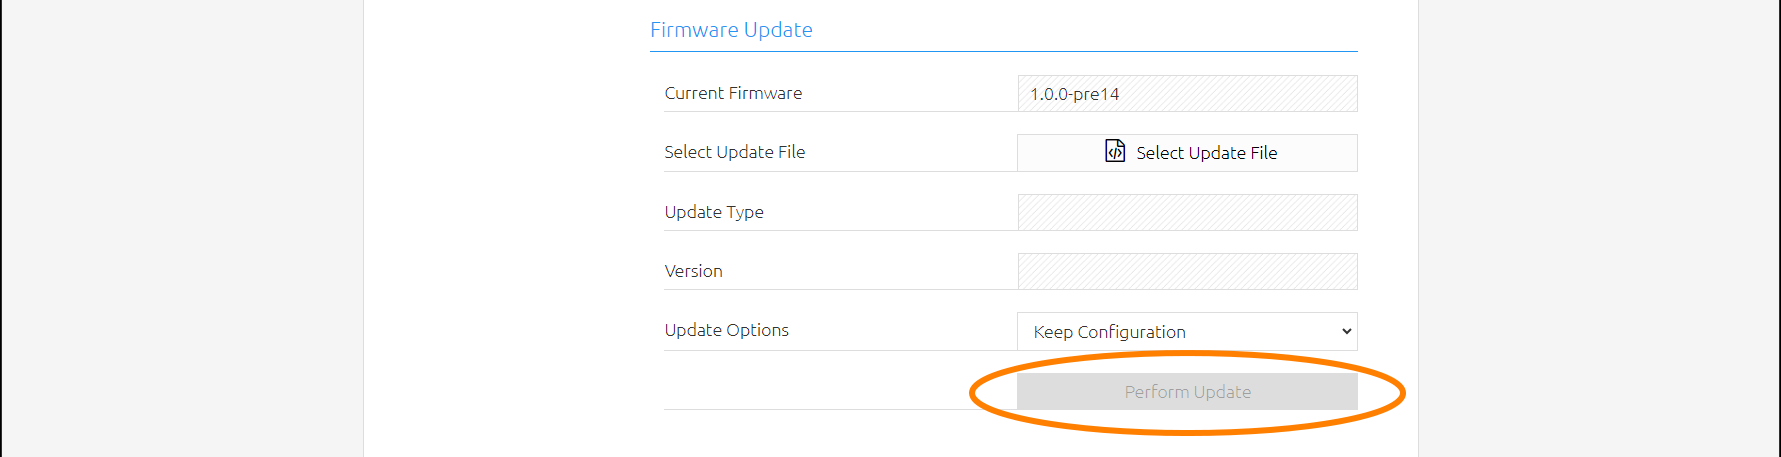
Start update
Wait until the update process has been completed. The web interface is updated automatically if the process has been completed successfully.
///