
Once a DMX output has been assigned to the lights and scenes (see the previous chapter), they can be controlled directly using the DUODMX APP.
The corresponding functions are available under:
-
Control → Lights
-
Control → Scenes
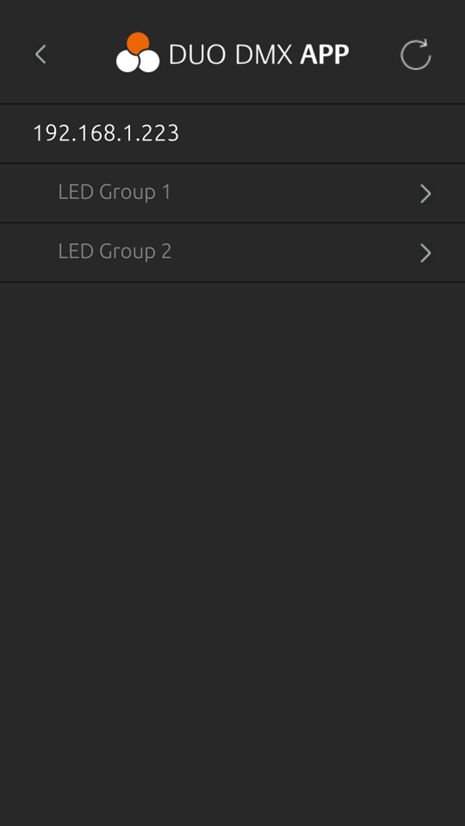
Figure 61: DUODMX APP – Home Screen
The figures on this page show the available lights and scenes of a sample project.
Controlling Scenes
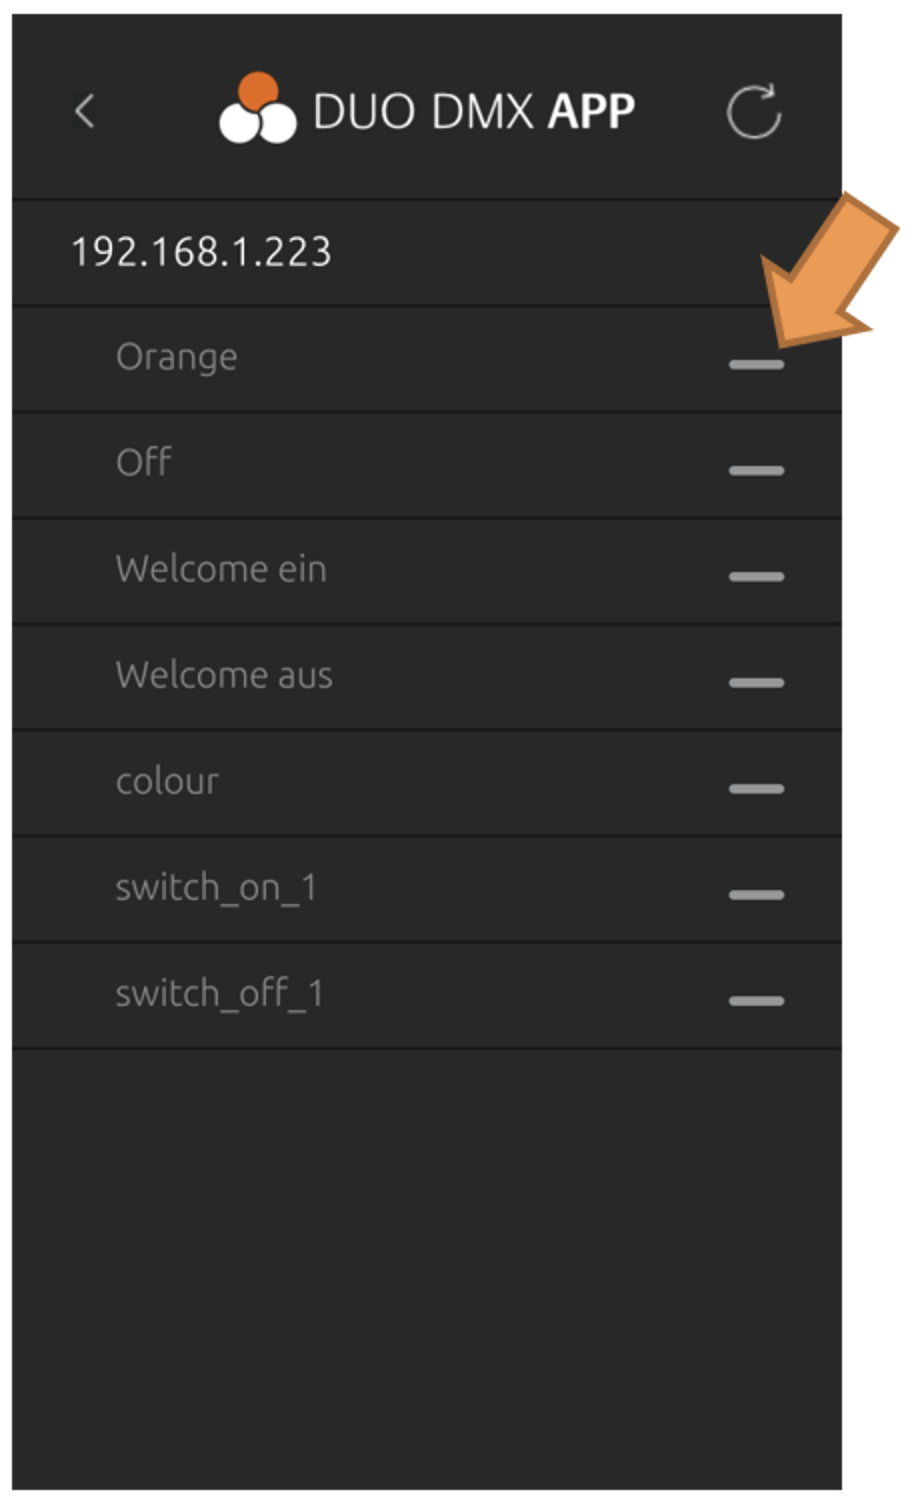
Scenes are started by simply tapping the desired scene.
The current scene status is indicated by a marker on the right side of the scene list:
-
Gray indicator – Scene inactive
-
Orange indicator – Scene active
Note
To change the assigned DMX output, press and hold the desired scene. The DMX Output Selection dialog will open again, allowing a different DMX output to be selected.
Controlling Lights
Tapping a light opens the corresponding control view.
Depending on the type of light, one of the following control interfaces is displayed:
-
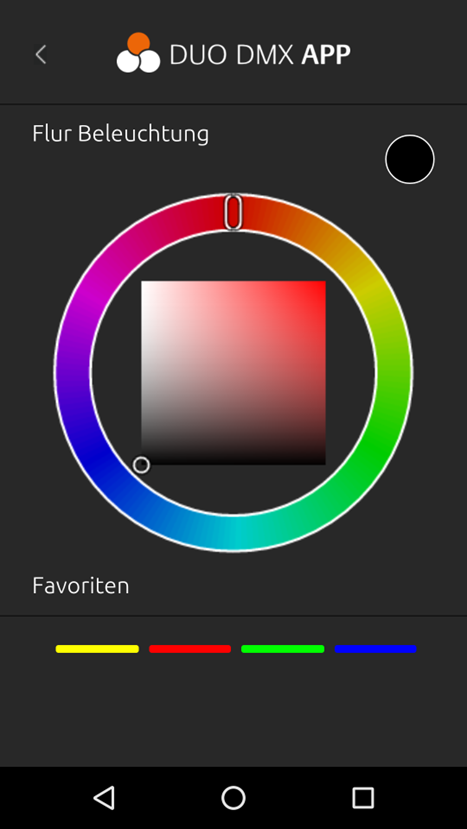
RGB/RGBW Lights
Controlled using a Color Picker.
(see Figure 69: RGB(W) Light – 3(4) Channels) -
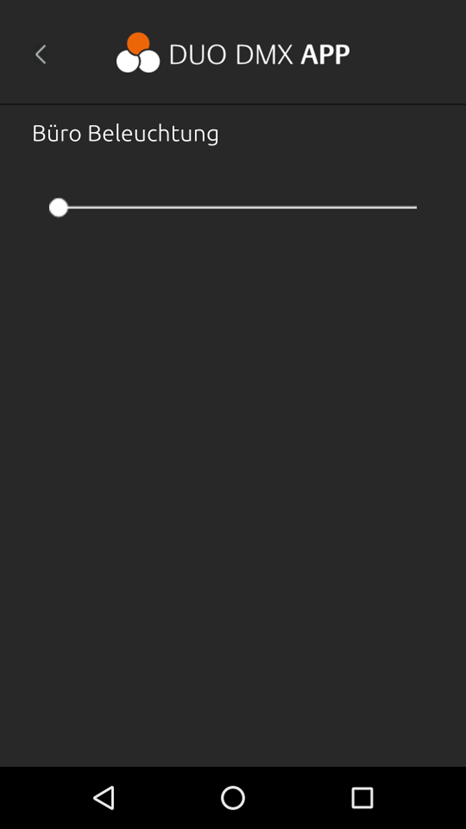
Single-Channel Lights
Controlled using a dimmer slider.
(see Figure 68: Single-Channel Light)
Note
The four favorite colors can be changed directly from the light control view. It is not necessary to open the application settings.
Press and hold one of the four favorite color fields to store the currently selected color as the new favorite color (see Figure 69: RGB(W) Light – 3(4) Channels).
///