
DUODMX GATEWAY REG
Article No. 12521
(Revision 02/2019)
Factory Settings
Default IP Address: 192.168.1.223
BAB TECHNOLOGIE GmbH
Hafenpromenade 1-2
DE - 44263 Dortmund
Telefon: +49 (0) 231 / 476 425-30
Telefax: +49 (0) 231 / 476 425-59
E-Mail: info@bab-tec.de
Internet: https://www.bab-technologie.com
Made in Germany
SAFETY INFORMATION
-
Electronic devices may be mounted and assembled by qualified electricians only. The applicable accident prevention regulations shall be observed.
-
Network technology skills are required for the initial operation.
-
The choked bus voltage must not be used as operating voltage 12–32 V DC.
-
Please take care of the correct polarity when installing the power supply.
-
The device may only be operated with the specified operating voltage. Applying a higher operating voltage may result in damage to the device.
-
DO NOT CONFUSE the pluggable screw terminals (voltage supply side and DMX connection side).
Failure to observe these instructions can result in damage to the device, fire, or other hazards.
The quick reference guide is part of the product and must remain with the end user.
Device Structure
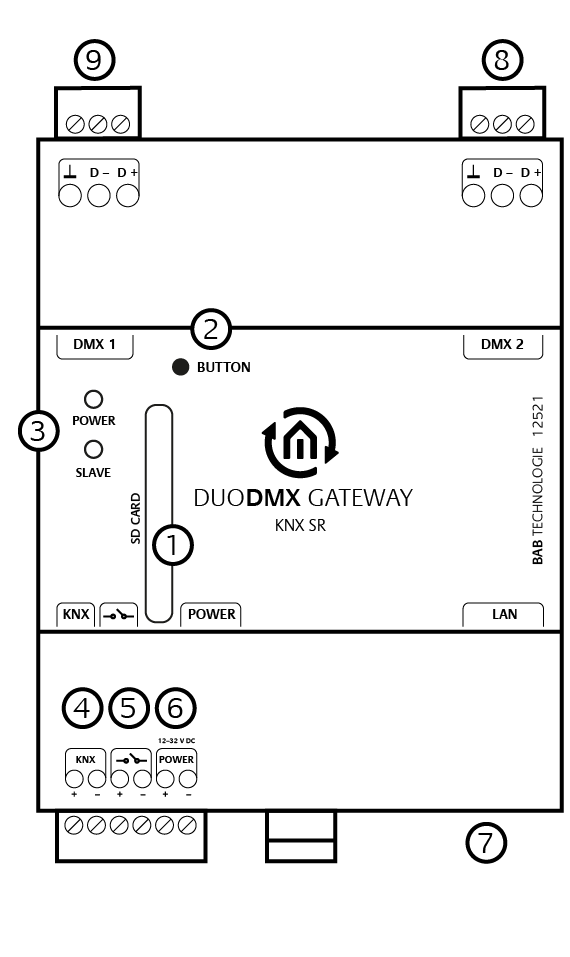
-
SD card slot (SD card with FAT format)
-
Button
-
LEDs: Top LED: Power;
Bottom LED: Slave -
KNX/TP connector
-
Potential-free push-button input
-
Power supply
-
RJ-45 connector (LAN)
-
Second DMX interface
-
First DMX interface
Information for Qualified Electricians
Mounting the Device
-
Mount the device on a DIN rail according to DIN EN 60715 (35 × 7.5 mm).
-
The device generates heat during operation. Observe the maximum ambient temperature and ensure adequate heat dissipation.
Connecting the Device (Figure 1)
-
For easier installation, the pluggable screw terminals can be removed.
-
KNX: Connect the bus cable to the KNX/TP connector (4).
-
DMX: Connect the DMX bus to (8) and (9).
-
Connect the power supply to the pluggable screw terminals (6) according to the markings. Observe the correct voltage and polarity.
-
Connect the network cable (LAN) to the RJ-45 connector (7).
Commissioning
-
Switch on the power supply and check the status LED.
-
KNX: Switch on the KNX bus voltage. The KNX interface is not programmed using an ETS application, but via the DMX Configurator software.
-
Connect the DMX bus and switch on the connected DMX devices.
Status LEDs
The DUODMX GATEWAY features two dual-color LEDs (Power and Slave). Each LED consists of a green and a redindicator.
Power LED
|
LED Status |
Description |
|---|---|
|
Off |
The device is not operational. No supply voltage is present. |
|
Green (flashing rapidly) |
The device is operational. |
|
Green |
The device is operational and a valid DMX signal is present. |
|
Red |
Unknown or invalid DMX signal detected. |
Slave LED
|
LED Status |
Description |
|
Off |
Both DMX interfaces are operating in DMX Master mode. |
|
Green |
At least one DMX interface is operating in DMX Slave mode. |
|
Red |
Unknown or invalid DMX signal detected. |
Accessing the Device
Important
For configuration via the local network, the PC must be in the same IP subnet as the DUODMXGATEWAY.
If network configuration is not possible, the project data can alternatively be transferred using an SD card. Only FAT-formatted SD cards are supported.
Note
If the DUODMX GATEWAY cannot be found by the DMX Configurator, disable all network interfaces except the one currently in use.
Temporarily Changing the Network Settings of Your PC (Windows)
-
Click Start → Control Panel → Network.
-
Select Network Connection, then LAN Connection.
-
Click Properties.
-
Select Internet Protocol Version 4 (TCP/IPv4) and click Properties again.
-
Save the current network settings (for example, by taking a screenshot or making a note). In this example, the existing network is 192.168.178.xx.
-
Change the IP address and subnet mask so that your PC is in the same IP subnet as the DUODMX GATEWAY.
Example (Factory Default Settings):
PC IP Address: 192.168.1.100
Subnet Mask: 255.255.255.0
-
Confirm the settings by clicking OK.
You can now change the IP settings of the DUODMX GATEWAY to match the network in which the device will be operated.
Documentation
The latest documentation for the DUODMX GATEWAY is available for download from the BAB TECHNOLOGIEproduct page. It provides detailed information on installation, commissioning, configuration, and all available device functions.
Configuration Software
The DUODMX GATEWAY is configured using the DMX Configurator software. The latest version of the software can be downloaded from the BAB TECHNOLOGIE product page.
Firmware Updates
Information about firmware updates for the DUODMX GATEWAY is available on our website and through our newsletter.
DUO DMX APP
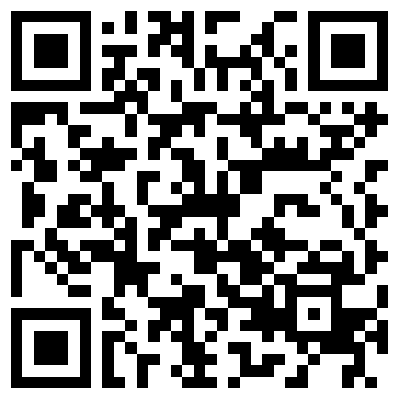
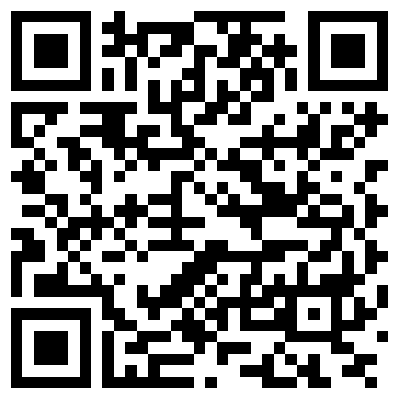
The DUODMX APP is available free of charge for iOS and Android devices, providing convenient control of the gateway.
Links to the DUODMX APP for Apple iOS and Google Android are available below.
Technical Data
-
Operating voltage: 12–32 V DC
-
Typical power consumption: ≤ 1.2 W
-
Connections
-
-
Power supply, KNX, and potential-free push-button input via one 6-pin pluggable screw terminal (up to 1.5 mm²)
-
2 × DMX interfaces via 3-pin pluggable screw terminals (up to 1.5 mm²)
-
-
Ambient temperature: –5 °C to +35 °C
Mechanical Specifications
-
Mounting: DIN rail enclosure, 4 TE (4 module units)
-
Dimensions (W × H × D): 72 × 90 × 63 mm
-
Housing: Plastic
-
Protection rating: IP20 (according to EN 60529)
-
Schutzart: IP20 (nach EN 60529)
General Information
Disposal

Do not dispose of old electrical or electronic devices with household waste.Dispose of end-of-life devices through an authorized electronic waste collection point or return them to your local dealer. Please dispose of the packaging materials using the appropriate paper and cardboard recycling collection systems.
[WEEE-Reg.-Nr.DE55712707]
[DE1921130422687]
Warranty
We reserve the right to make technical and editorial changes to the product in the interest of technical progress. Warranty is provided in accordance with the applicable statutory regulations.
If you are unsure whether your device is defective, please contact our technical support:
-
Phone: +49 (0) 231 / 476 425 30
-
E-mail: service@bab-tec.de
Please return defective devices only together with a completed RMA form. The RMA form can be requested using the contact details above.
Please note that shipments sent freight collect or shipments without an RMA form cannot be accepted.
///