
Contents
If the CUBEVISIONMODULE has been mounted and started as described in chapter "Assembly", commissioning can now be continued as specified below.
Factory setting on delivery:
|
IP Address |
192.168.1.229 |
|
Subnet Mask |
255.255.255.0 |
|
Username |
admin |
|
Password |
admin |
|
Device Name |
CVM |
The password must be changed immediately when logging in for the first time. If the password is lost, the device cannot be reset!
System requirements
|
Operating system: |
Platform-independent
|
|
For configuration: |
Current browser (Chrome, Safari, Firefox) and BAB STARTER resp. latest Java installation (for CUBEVISION Editor) |
|
CUBEVISION: |
Software: Current Webkit / browser (Chrome, Safari, Firefox, Microsoft Edge) Hardware: High-performance hardware with 3D hardware acceleration Do not use Internet Explorer |
Because CUBEVISION uses latest HTML 5 technologies and is containing 3-D animations, there could be problems running it on older hardware and hardware with too little hardware performance. In case of doubt, please check out functionality with our demonstration-CUBEVISION on our website http://www.bab-tec.de in the “Live” menu.
Establishing connections
In order to configure the CUBEVISIONMODULE and to retrieve the visualization, a current browser and a network connection to the device are required. If the device is in the condition on delivery, it can be accessed at the above-mentioned IP address and the network settings must be adjusted to the address range, where necessary. To do this, please follow the instructions provided in chapter "Adjusting the network settings of your computer".
BAB STARTER
If you do not know the network settings of the device, the BAB STARTER can help you to find out with which IP address the device is available. The software is available for Windows and MAC systems and can be found on the supplied CD or at www.bab-tec.de in the download section. For detailed information, please observe the separate documentation with respect to BAB STARTER!
BAB STARTER installation
For Microsoft Windows, you receive a *.zip file to download. For MAC OS X, a *.mpkg file is available.
A detailed description for BAB STARTER can be found in the related documentation on the supplied CD or can be downloaded at http://www.bab-tec.de .
Windows installation
-
Run "BAB_STARTER_[Version]_setup.exe" to start the installation.
-
Follow the instructions in the InstallShield Wizard and click on "Continue".
-
In the end, confirm the installation with "Finish".
Thereafter, the BAB STARTER can be found in the Windows Start menu folder "BAB TECHNOLOGIE GmbH".
MAC OS installation
Double click on "BAB STARTER_[Version].mpkg".
It is possible that your system will advise you of a non-verified developer. In this regard, please note the information on the "Apple Gatekeeper"; see:
https://support.apple.com/de-de/HT202491 (as of 5 October 2015)
Follow the instructions of the installation process and click on "Continue" to continue the installation.
The message "The installation was successful" confirms the successful installation. The BAB STARTER icon now appears in the "Programs" folder.
Run BAB STARTER
Click on the BAB STARTER program icon to start the application

With BAB STARTER, it is also possible to start the CUBEVISION Editor and EnOcean Editor separate from the search for devices described below, irrespective of whether a local Java Virtual Machine (JVM) is installed!
To display all active BAB devices in the network, click on the "Search for Devices…" menu after you have called up the STARTER.
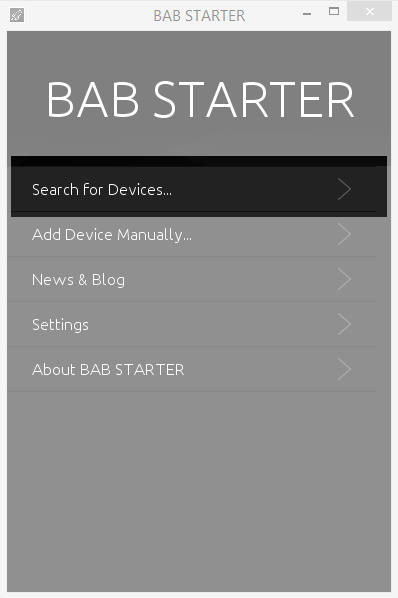
Devices in the foreign network area
Whether a device is in the network area of your computer is highlighted by the contrast intensity of the entries. If the entry is displayed with low contrast, the device is not in the same network area (subnet) and cannot be reached without changes.

To learn more about the network settings of the device, click on the respective entry and then on "Details".
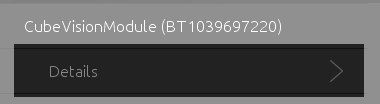
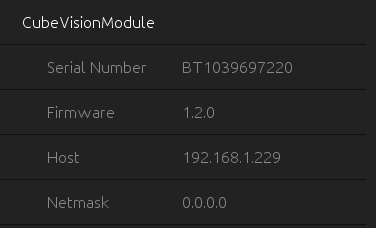
The following display shows the serial number, firmware, IP address (host) and net mask (display not implemented).
-
To bring the device into the network area of your computer, please proceed as described in chapter "Adjusting the network settings of your computer".
Devices in the same network area
If the contrast is sharper, this means that the device is in the same network area (subnet) and can be accessed immediately.

Click on the entry so that the next menu opens. Apart from the device details, you can access CUBEVISION, EDITOR and SYSTEM there. For further description, see chapter "CONFIGURATION"
Adjusting the network settings of your computer
In order to adjust the network settings of your computer and establish a connection to the device, please proceed as described below:
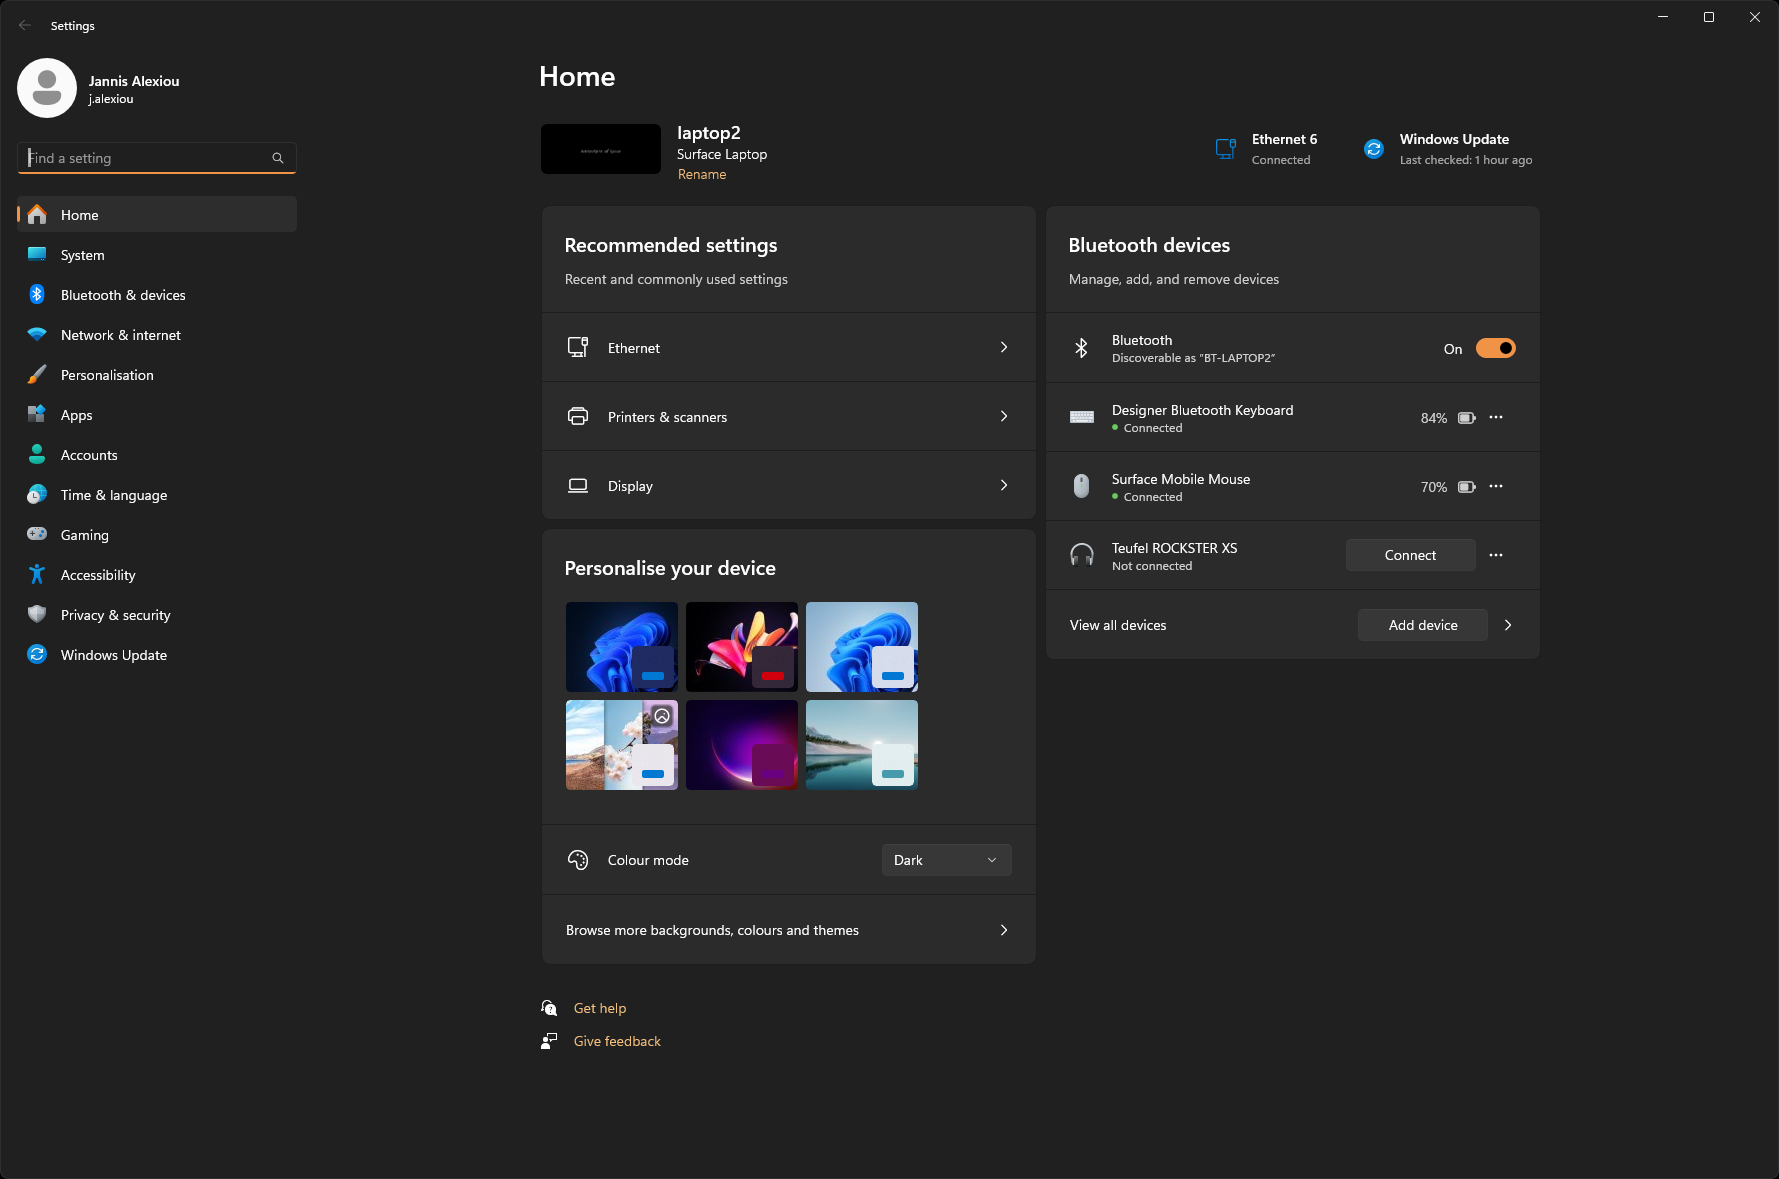
Open the IP address settings (under Windows 11):
-
Click "Start Button" → "Settings"
-
Switch to the → "Network and Internet" section
-20240426-095444.png?cb=f6e257d3790a32d93654cd54c20cc1f9)
-
Select the network interface used from the list. Here in the example "Ethernet".
-20240426-095445.png?cb=0f6322e369140f59a4b011e98e9d13db)
-
Next, click on "Edit" for the IP assignment of the Ethernet interface:
Make a note of the current configuration or create a screen copy so that this configuration can be restored later.
-
Select the "Manual" entry in the drop-down list and switch on the processing for IPv4.
-
Now change the IP address settings (IP address and subnet mask are sufficient) to switch to the IP address range of the CUBEVISIONMODULE.
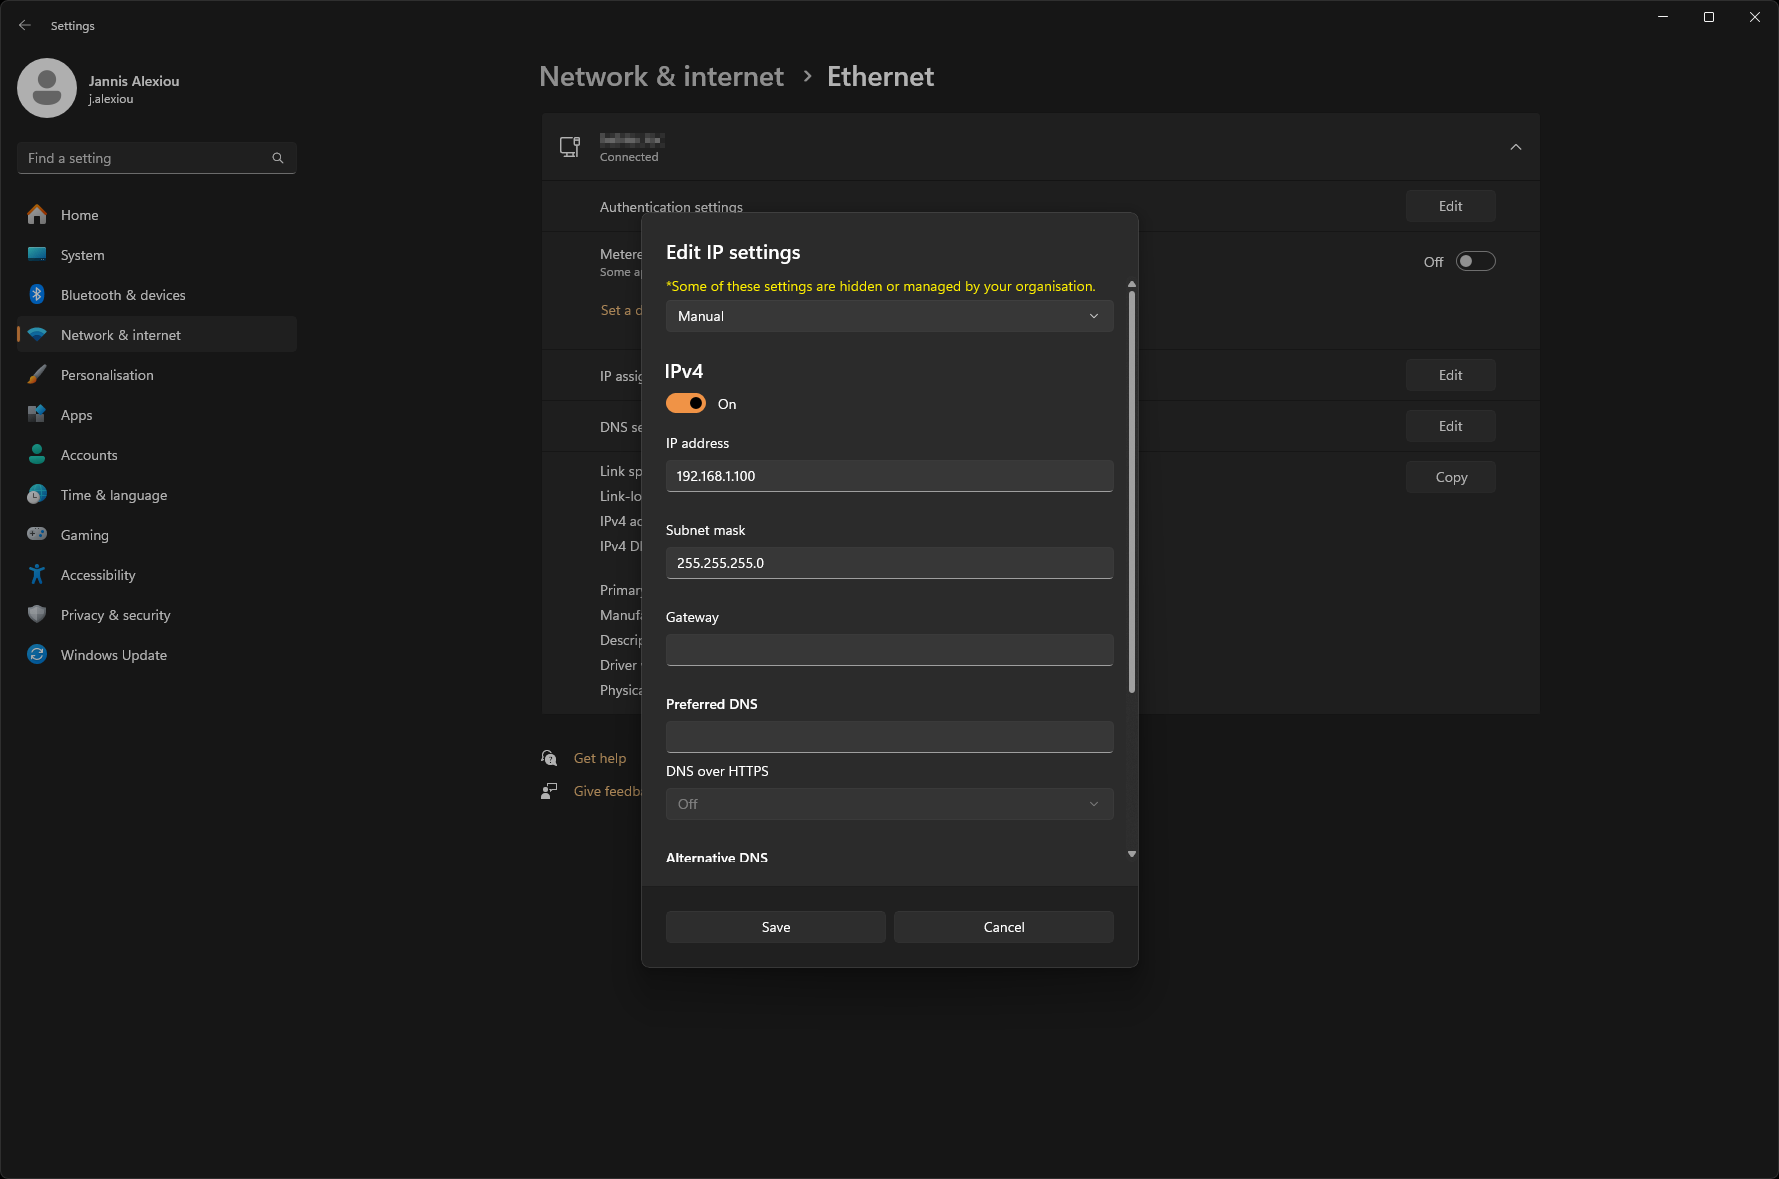
-
Example of a valid configuration for the factory settings of the CUBEVISIONMODULE:
-
Free IP address: 192.168.1.228
-
Subnet mask: 255.255.255.0
-
-
Now confirm your input with "OK".
Thus, you have adjusted the network settings of your PC to those of the CUBEVISIONMODULE. The web interface of the CUBEVISIONMODULE can now be accessed by means of the browser. Please follow the instructions below to adjust the IP address setting of the device.
After the network setting for the CUBEVISIONMODULE has been adjusted, the network setting of the PC can be reset to the previous state in order to continue with the setup of the CUBEVISIONMODULE.
Adjusting the network settings of the CUBEVISION MODULE
If the network prerequisites have been created, you can now access the configuration of the CUBEVISIONMODULE in order to adjust the network settings to the local requirements there. To do this, please proceed as described below:
Enter the IP address of the CUBEVISIONMODULE in the address line of your browser (for factory settings: 192.168.1.229).
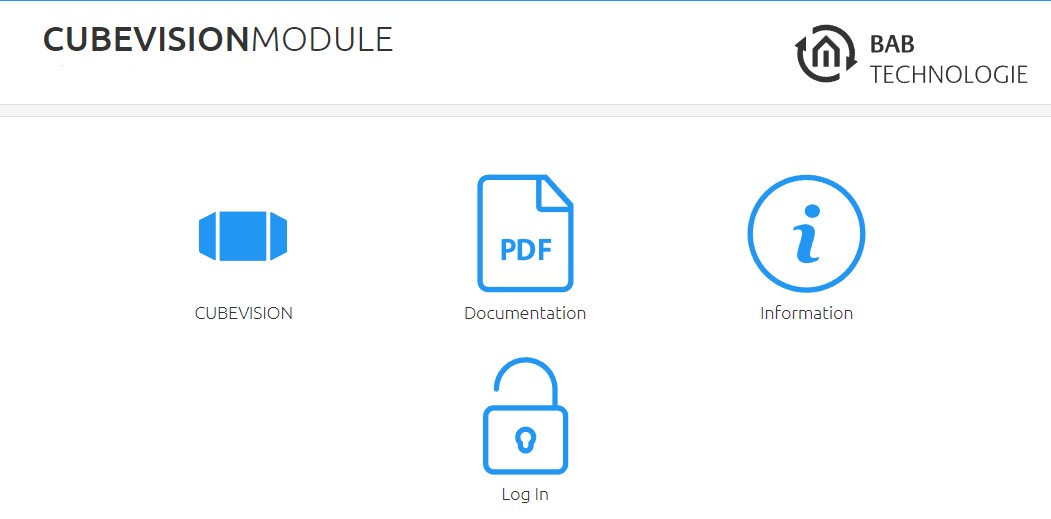
-
The start page of the CUBEVISIONMODULE opens up. Click "Log In".
-
A login dialog appears. For factory settings, the login data is as follows:
|
Username: |
admin |
|
Password: |
admin |
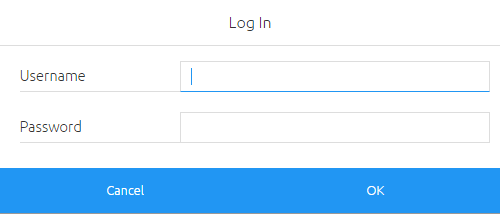
The password must be changed immediately when logging in for the first time. If the password is lost, the device cannot be reset!
Logging in only works if the browser is authorized to save cookies!
The view on the start page changes. You can now access the following levels:
-
CUBEVISION
-
Configuration
-
Information
-
Log Out
In order to change the IP address of the CUBEVISIONMODULE, please click "Configuration"
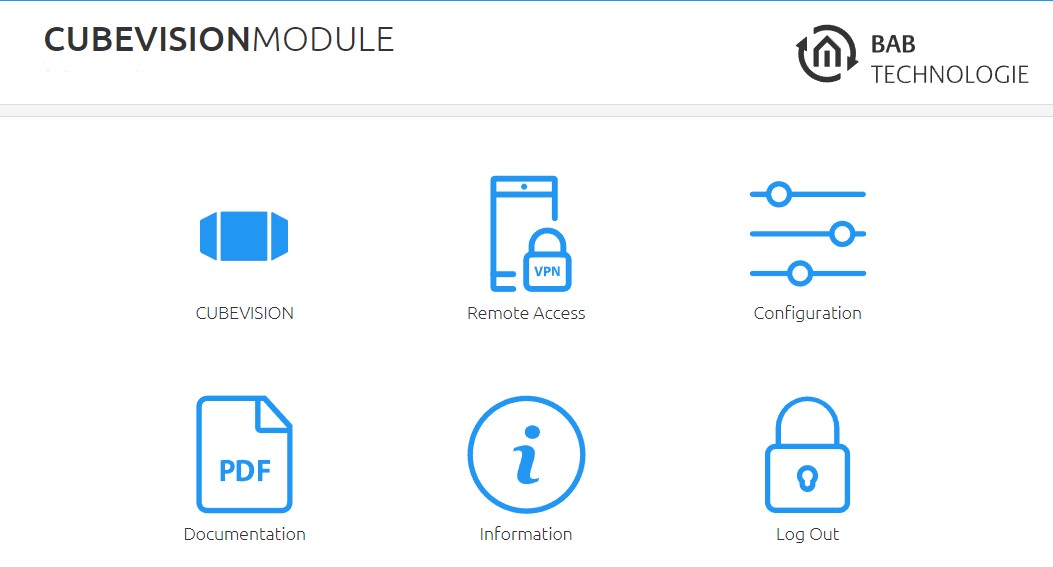
The configuration menu opens up. You can make the following settings in the "Network" menu item:
|
DHCP: |
If DHCP is active, the device automatically obtains the network settings. A DHCP server must be available in the local network.
|
|
IP address /
|
Field for the static assignment of IP addresses. Please make also sure that the subnet mask (often 255.255.255.0) and the gateway entry are correct. (Often the IP address of the WLAN router). Without a correct gateway entry, the device will not be able to communicate with the Internet. |
|
DNS server: |
DNS is the abbreviation for Domain Name System. The DNS server converts Internet addresses, for example "http://www.bab-tec.de " into the IP address "85.214.89.170" and vice versa. Without a valid DNS entry, NTP, weather services from the Internet and UPnP do not work.
|
|
NTP server: |
NTP is a free service for synchronizing the system time of Internet-compatible devices. If it is not possible to establish the connection to an NTP, the system time must always be checked and adjusted manually (see menu "General") NTP server list: e.g. http://www.pool.ntp.org/zone/europe
|
The configuration menu opens. The following settings can be made in the ‘Network’ menu item:
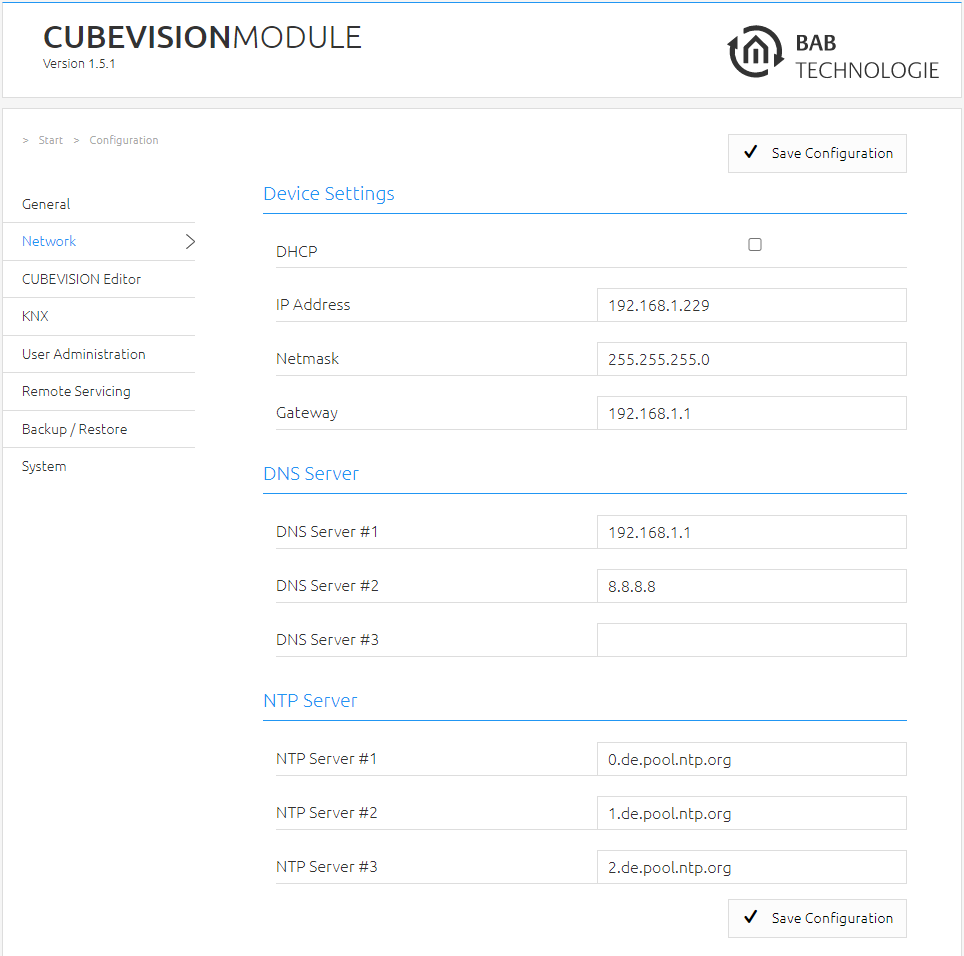
Change the IP address settings as required. In order to save the settings made, click "Save Configuration". The server in the device is restarted, the browser automatically connects to the new IP address if possible.
Please bear in mind that you might have to reset the IP address of your computer to the initial value in order to be able to access the CUBEVISIONMODULE after the change has been made.
Special feature when activating DHCP
If you have activated DHCP for the CVM according to the steps mentioned above, please use the DiscoveryTool as described in chapter "DiscoveryTool" in order to find out the current IP address configuration of the device.
Port settings
We strongly advise against using port forwarding for external access. For external access, please use the integrated HOOC solution or VPN Plug&Play (Chapter Plug & Play VPN).
Should be necessary port forwarding in special cases, the following should be observed.
If the connection between CUBEVISIONMODULE and client is monitored by a firewall or cross-network access is to be enabled, the following port settings must be taken into account:
|
Visualization: |
TCP Port 80 (http) |
|
Configuration: |
TCP Port 80 (http)
|
If you want to make your CUBEVISIONMODULE available for external access, please protect the access with secure passwords. In this respect, follow the currently applicable password rules.
Calling up the CUBEVISION MODULE web interface
The CUBEVISIONMODULE is configured via its web interface so that it can be configured via each web browser. The "CUBEVSION Editor" and "EnOcean Editor" layers are Java applications and also require a Java Virtual Machine (JVM) or the BAB STARTER (see "BAB STARTER").
In order to call up the web interface, please proceed as described below:
-
Open a browser and enter the IP address of the CUBEVISIONMODULE into the address line (Information on the factory settings can be found in chapter "Initial operation")
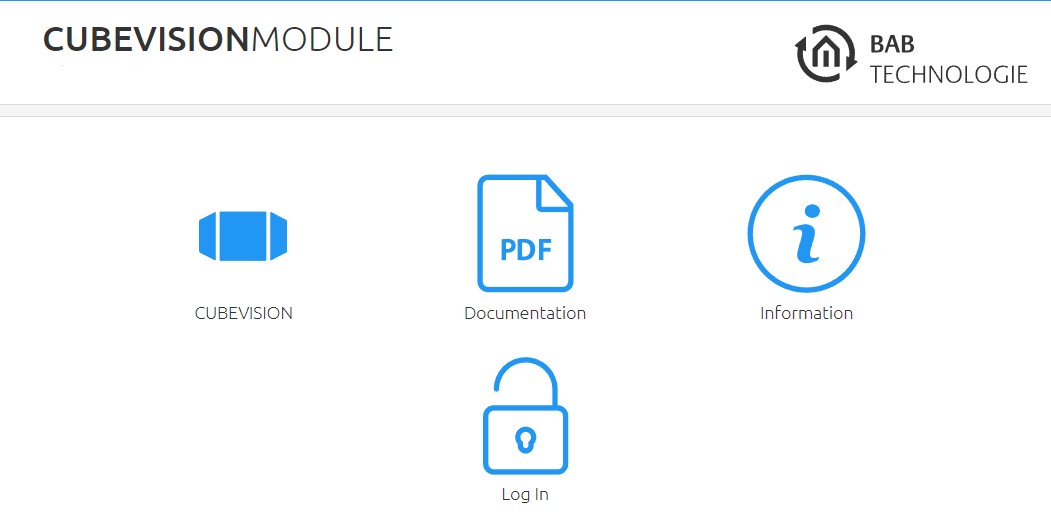
-
You can access the CUBEVISION start page. From there, you can access the CUBEVISION visualization "CUBEVISION" and system information "Information".
-
Use the user data to log in to the web interface: "Logging in". (Information on the authorization settings can be found in chapter "Initial operation”
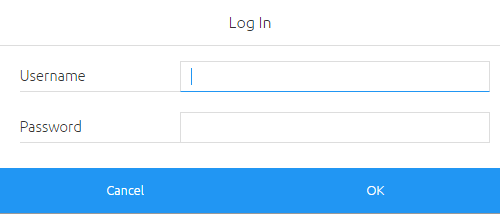
-
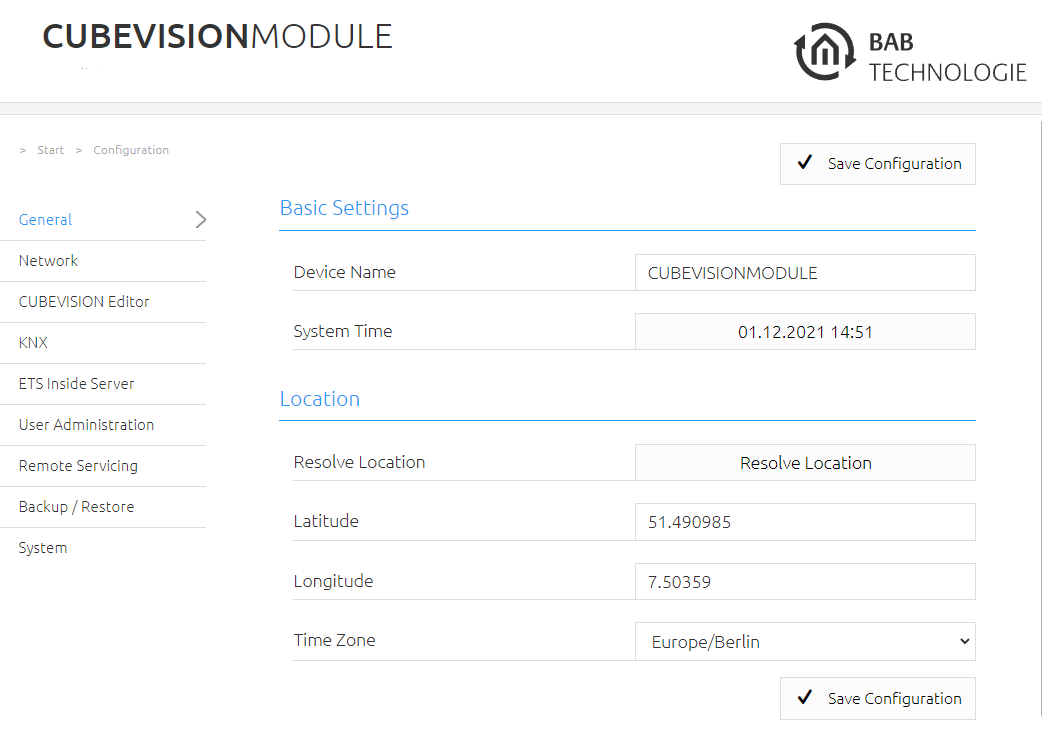
You can then also access the "Configuration" menu item. See chapter "CONFIGURATION"
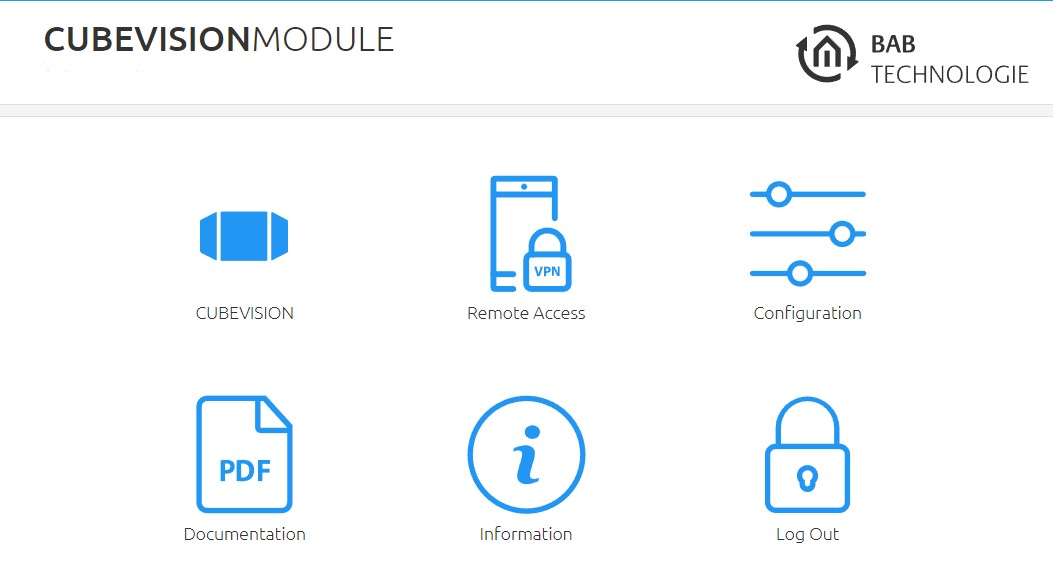
-
To return back to the main menu, click on “Start”.
///