With help of the editor, visualisation will be adjusted. Therefore three different columns are available, in which you can execute each and every step. Control menu is located above.
Control menu
With three symbols at the head of window, the CONTROL S editor will be controlled. There you will find a button for “saving”, a symbol for „reload“ and a symbol for “new element” which allows you to add a new element into the project.

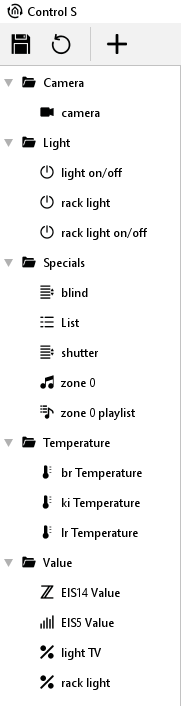
Left column – element overview
In the element overview first, all required elements will be added. Every element will be created automatically in a category folder. For example, element “EIS 14 value” will be stored to folder “Value”. In this column, all required elements are sorted by its category and can be configured over parametrization window (right column). To delete an element or the complete folder, please use the context menu.
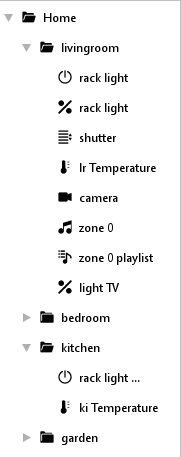
Middle column – sight of visualisation
The middle column corresponds to the sight of the visualisation. The here performed arrangement will be seen later in the display of your mobile. The user can create folders by him and distribute elements at his will. You can create a folder by context menu (right click to column). Elements, which are parametrized in left column before, will be drawn simply by “drag and drop” to desired folder. Display arrangement of can happen, according to floors and rooms and/or to functions, for example.
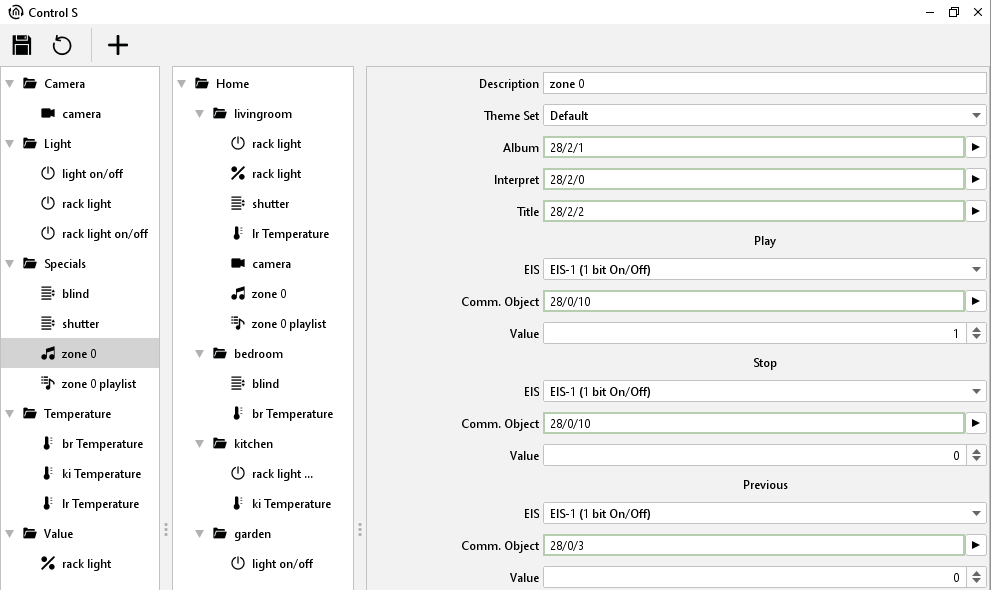
Right column – parametrization window
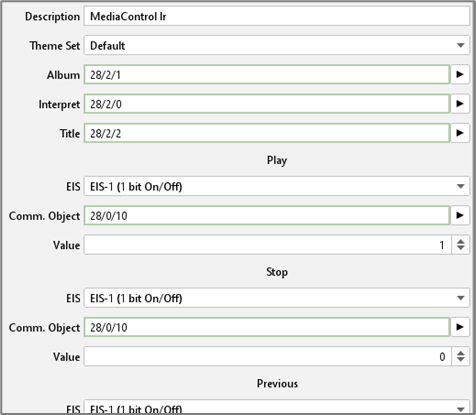
In the right column the parameters of the elements will be entered. The parameters will be displayed when an element is chosen in left or middle column. By parametrization it makes no different, in which column elements will be marked.
Address assignments
Address assignments in CONTROL S editor happens conveniently over ESF dialogue, like it does in other editors. The dialogue will open by clicking on the arrow symbol near the data entry field for the addresses. An overview will be displayed, which contains all addresses of loaded up ESF files and/or a address matrix. You can allocate an address to an object by a double click. To every input object you can assign maximal 5 addresses. Addresses for feedback will be entered in brackets, separated with comma, behind the used address.