
To adjust the network settings of your computer and establish a connection to the device, proceed as follows.
Open the IP address settings in Windows 11:
-
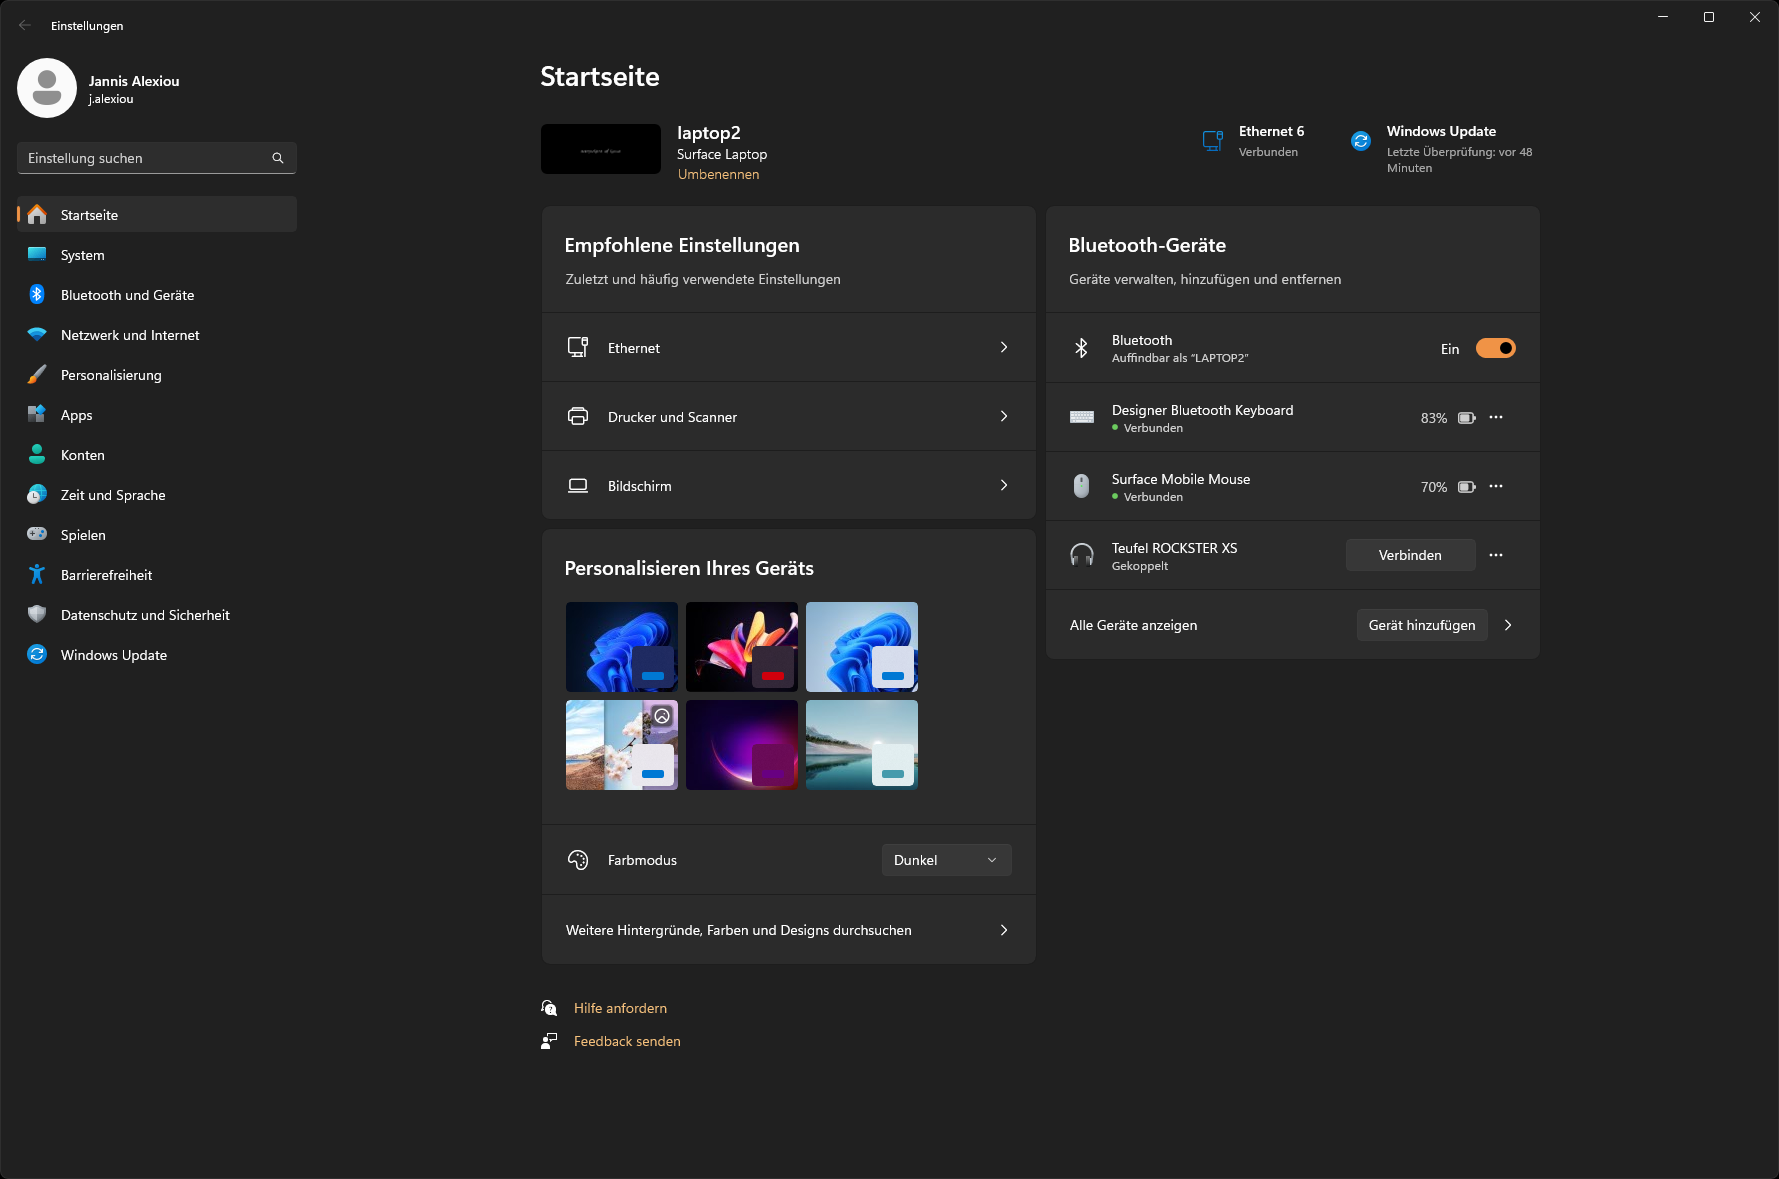
Click Start > Settings.
-
Open Network & Internet.
-20240426-092730.png?cb=54ba897750262420ae9b76585090e7b8)
-
Select the network interface currently in use from the list. In this example, Ethernet is used.
-20240426-095445.png?cb=0f6322e369140f59a4b011e98e9d13db)
-
Next, click Edit under the IP assignment settings of the Ethernet interface.
Note
Make a note of the current network configuration or take a screenshot so that the original settings can be restored later.
-
Select Manual from the drop-down list and enable IPv4 configuration.
-
Change the IP address settings so that your computer is in the same IP address range as the LOGIKMODULE.
-20240426-094957.png?cb=262114b4119fc716a3553efd265ab56c)
-
Example of a valid configuration when using the factory settings of the LOGIKMODULE:
-
Available IP address: 192.168.1.100
-
Subnet mask: 255.255.255.0
-
Confirm your settings with OK.
The network settings of your computer now match the network range of the LOGIKMODULE. The web interface of the LOGIKMODULE can now be accessed using a web browser.
Follow the instructions below to adjust the network settings of the device.
After the network settings of the LOGIKMODULE have been adapted to your local network, restore the original network settings of your computer before continuing with the configuration of the LOGIKMODULE.
-
Adjusting the Network Settings of the LOGIKMODULE
Once the network requirements have been established, you can access the configuration of the LOGIKMODULE and adapt its network settings to the requirements of the local network.
Proceed as follows:
-
Enter the IP address of the LOGIKMODULE in the address bar of your browser.
With factory settings, the IP address is:
192.168.1.241
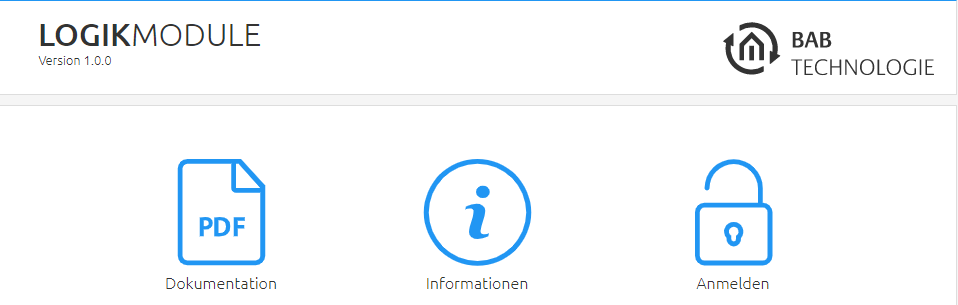
The LOGIKMODULE start page opens. Click Login.
-
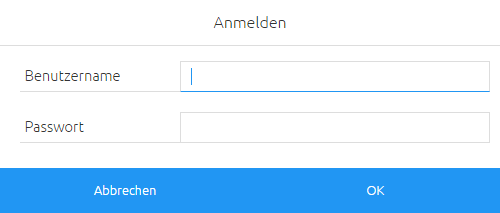
A login dialog appears. With factory settings, use the following credentials:
Username: admin
Password: admin
Note
The password must be changed immediately when logging in for the first time.
If the password is lost, the device cannot be reset.
Login is only possible if the browser is permitted to store cookies.
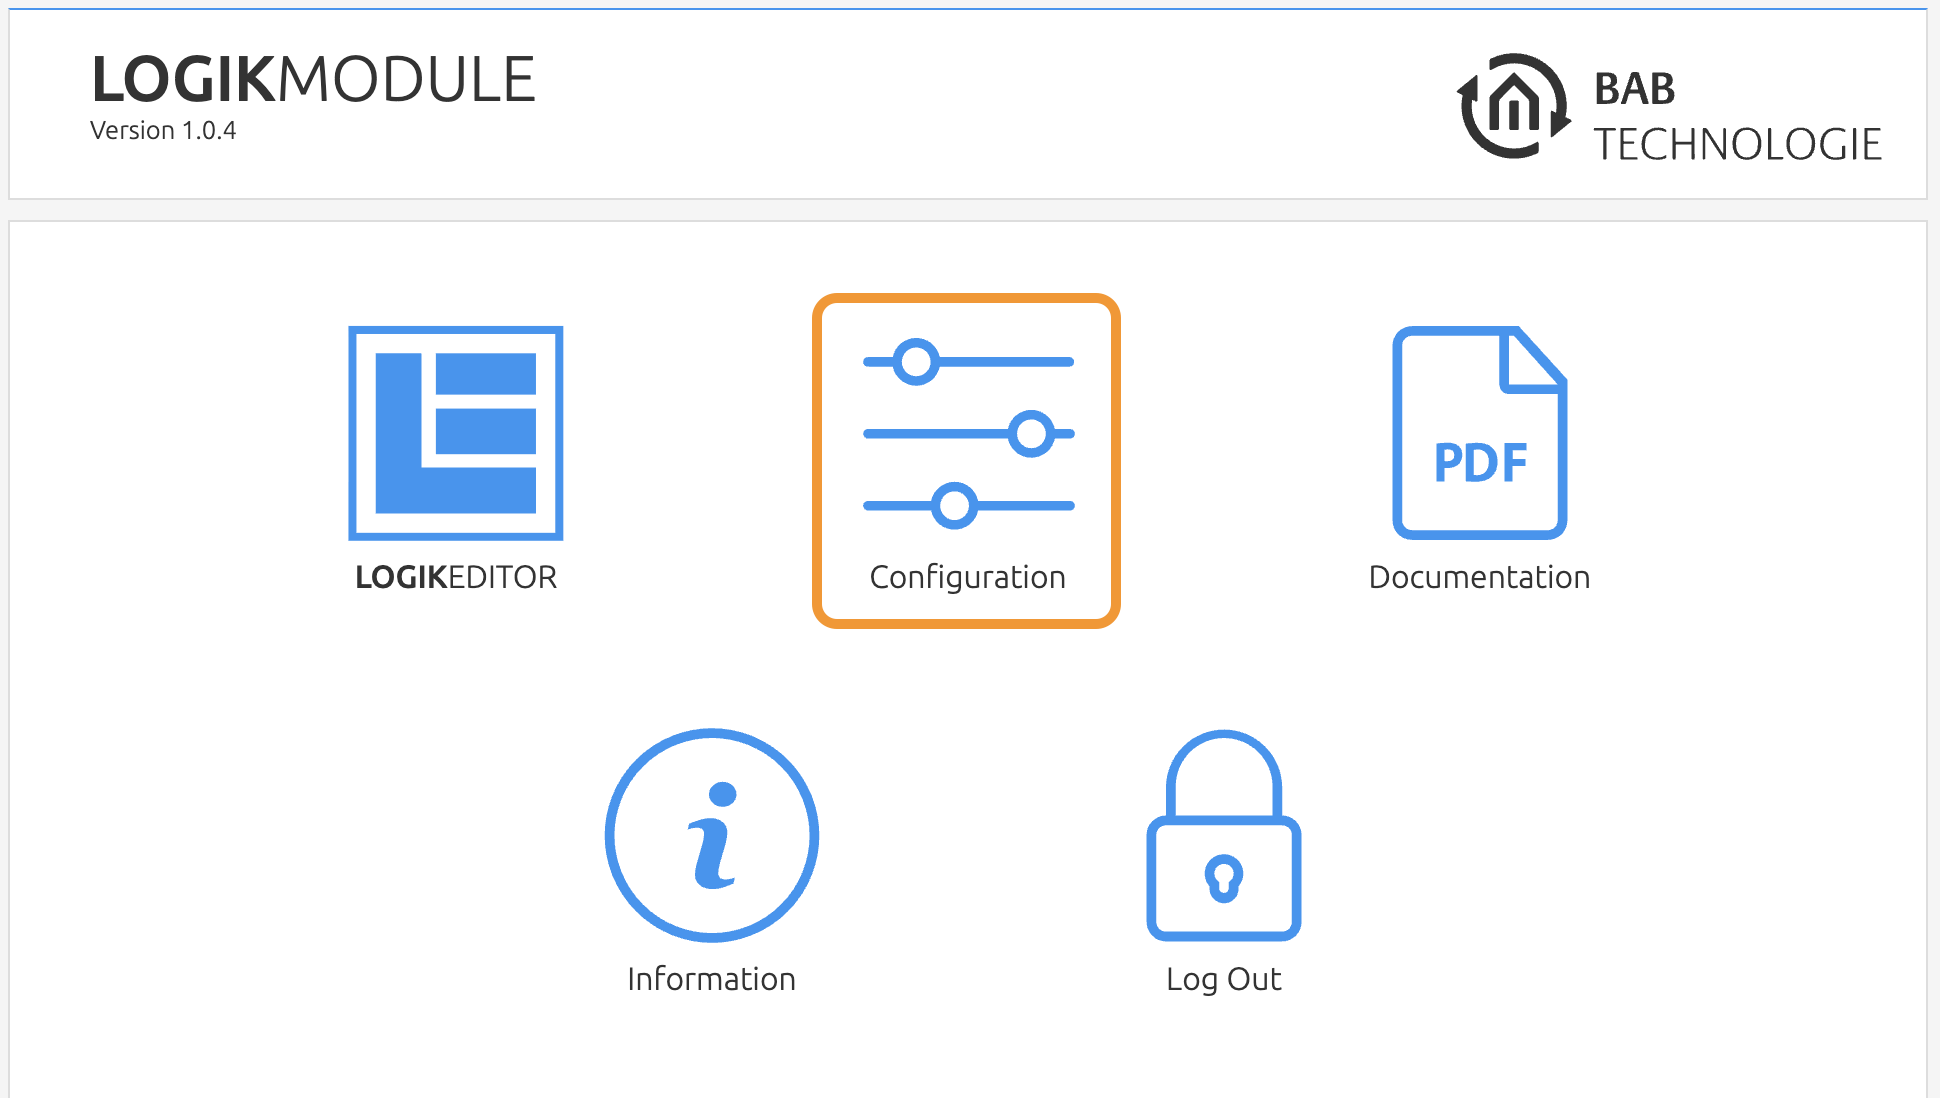
After logging in, the start page provides access to the following areas:
-
-
LOGIKEDITOR
-
Configuration
-
Documentation
-
Information
-
Logout
-
To change the IP address of the LOGIKMODULE, click Configuration.
The following network settings are available:
|
Setting |
Description |
|---|---|
|
DHCP |
If DHCP is enabled, the device obtains its network settings automatically. A DHCP server must be available in the local network. |
|
IP Address / Subnet Mask / Gateway |
Used for static IP configuration. Ensure that the subnet mask and gateway are configured correctly. A commonly used subnet mask is Without a valid gateway configuration, the device cannot communicate with the Internet. |
|
DNS Server |
DNS stands for Domain Name System. The DNS server translates hostnames, for example |
|
NTP Server |
NTP is used to synchronize the system time of network-enabled devices. If no connection to an NTP server is possible, the system time must be checked and adjusted manually. |
The configuration menu opens. The corresponding settings can be adjusted under Network.
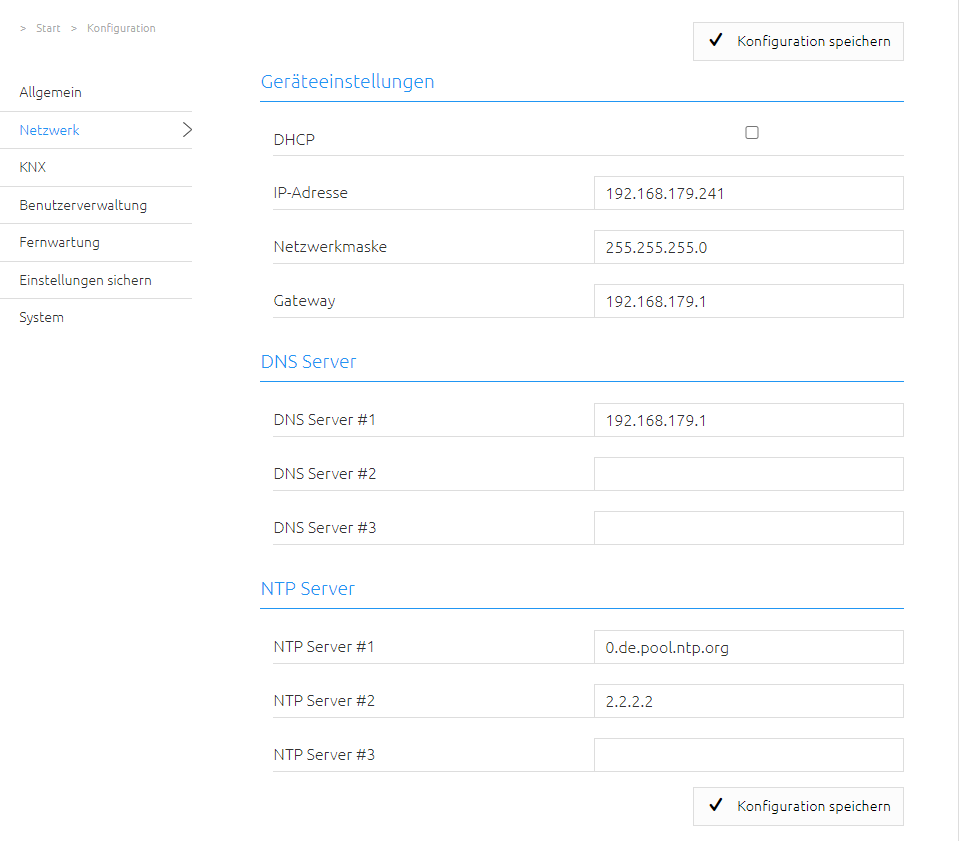
Change the IP address settings as required.
To apply the settings, click Save Configuration.
The server on the device is restarted. If possible, the browser automatically reconnects using the new IP address.
Note
After changing the network configuration of the LOGIKMODULE, you may need to restore the original IP settings of your computer in order to access the device again.
Special Considerations When Using DHCP
If DHCP has been enabled for the LOGIKMODULE, use the BAB STARTER to determine the current IP address configuration of the device.
///