Logic Groups - The LOGIK EDITOR Canvas
The configuration of logic elements, as well as linking the logic elements to inputs and outputs is performed within so-called logic groups. Therefore, the logic group configuration represents the canvas.
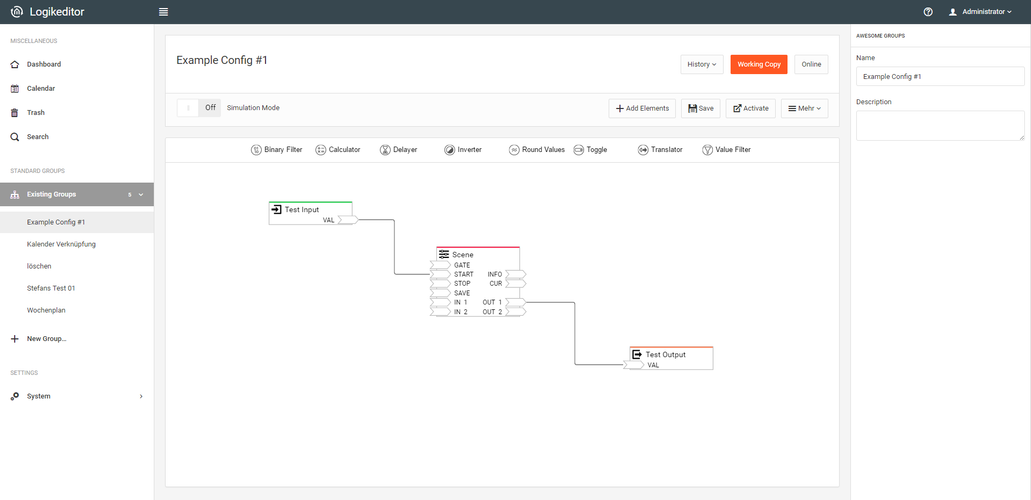
There are the following functions for working within the logic group configuration:
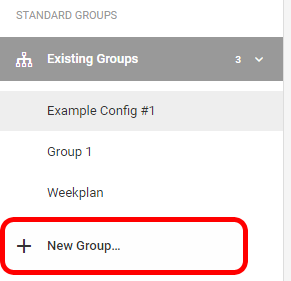
Create a new Logic Group
To create a logic group, please click on "+ New Group" in the expanded Logic groups menu (left-hand side).
Add Value Inputs / Value Outputs
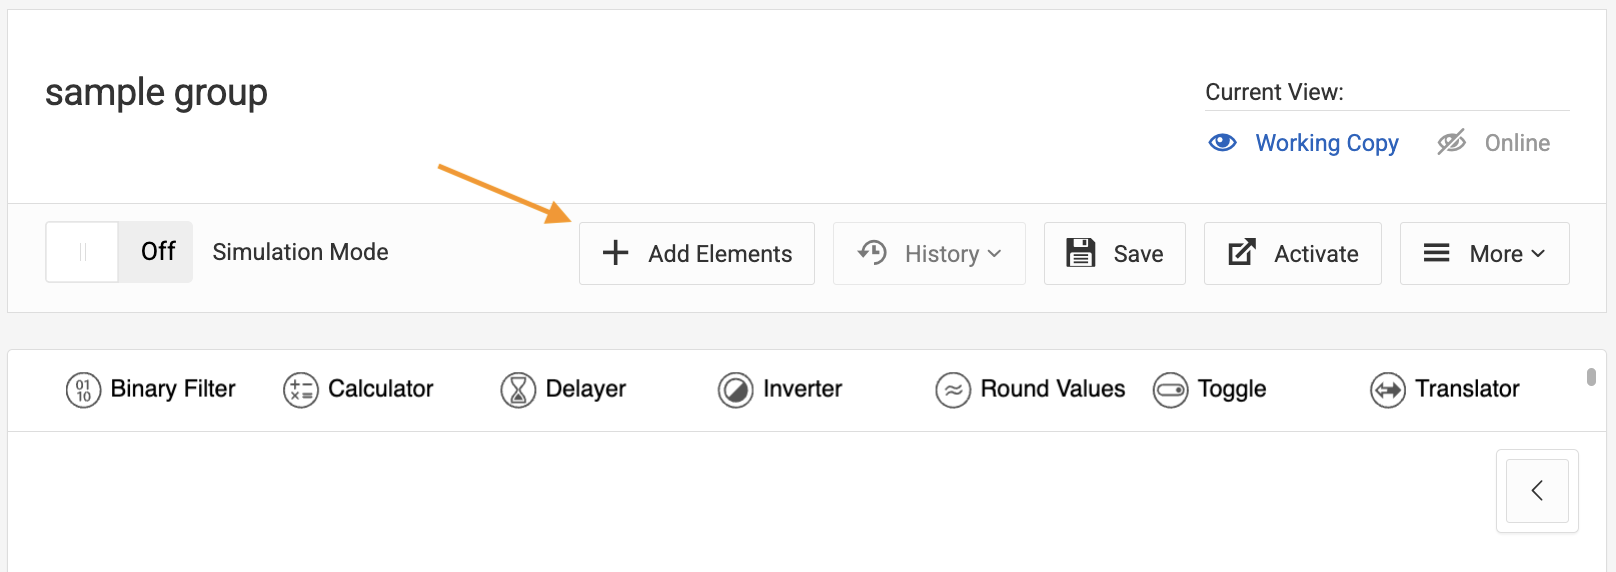
If you only want to add one element of one type, you may simply double-click on the symbol. Otherwise, enter the desired amount in each input. You can cycle quickly through inputs using the tab key. You can type in a number, or you can alter the default zero using the arrows next to the input. Finally, if you click into an input field you can also increase or decrease the amount using your mouse wheel or the arrow keys of your keyboard. The fastest way is cycling through all fields using the tab key and the selecting the amount using the arrow keys.
As soon as at least one element has a quantity larger than 0, the button "Add Selection" will be enabled. Additional information on the configuration of data points and inputs & outputs can be found in chapter Datapoints.
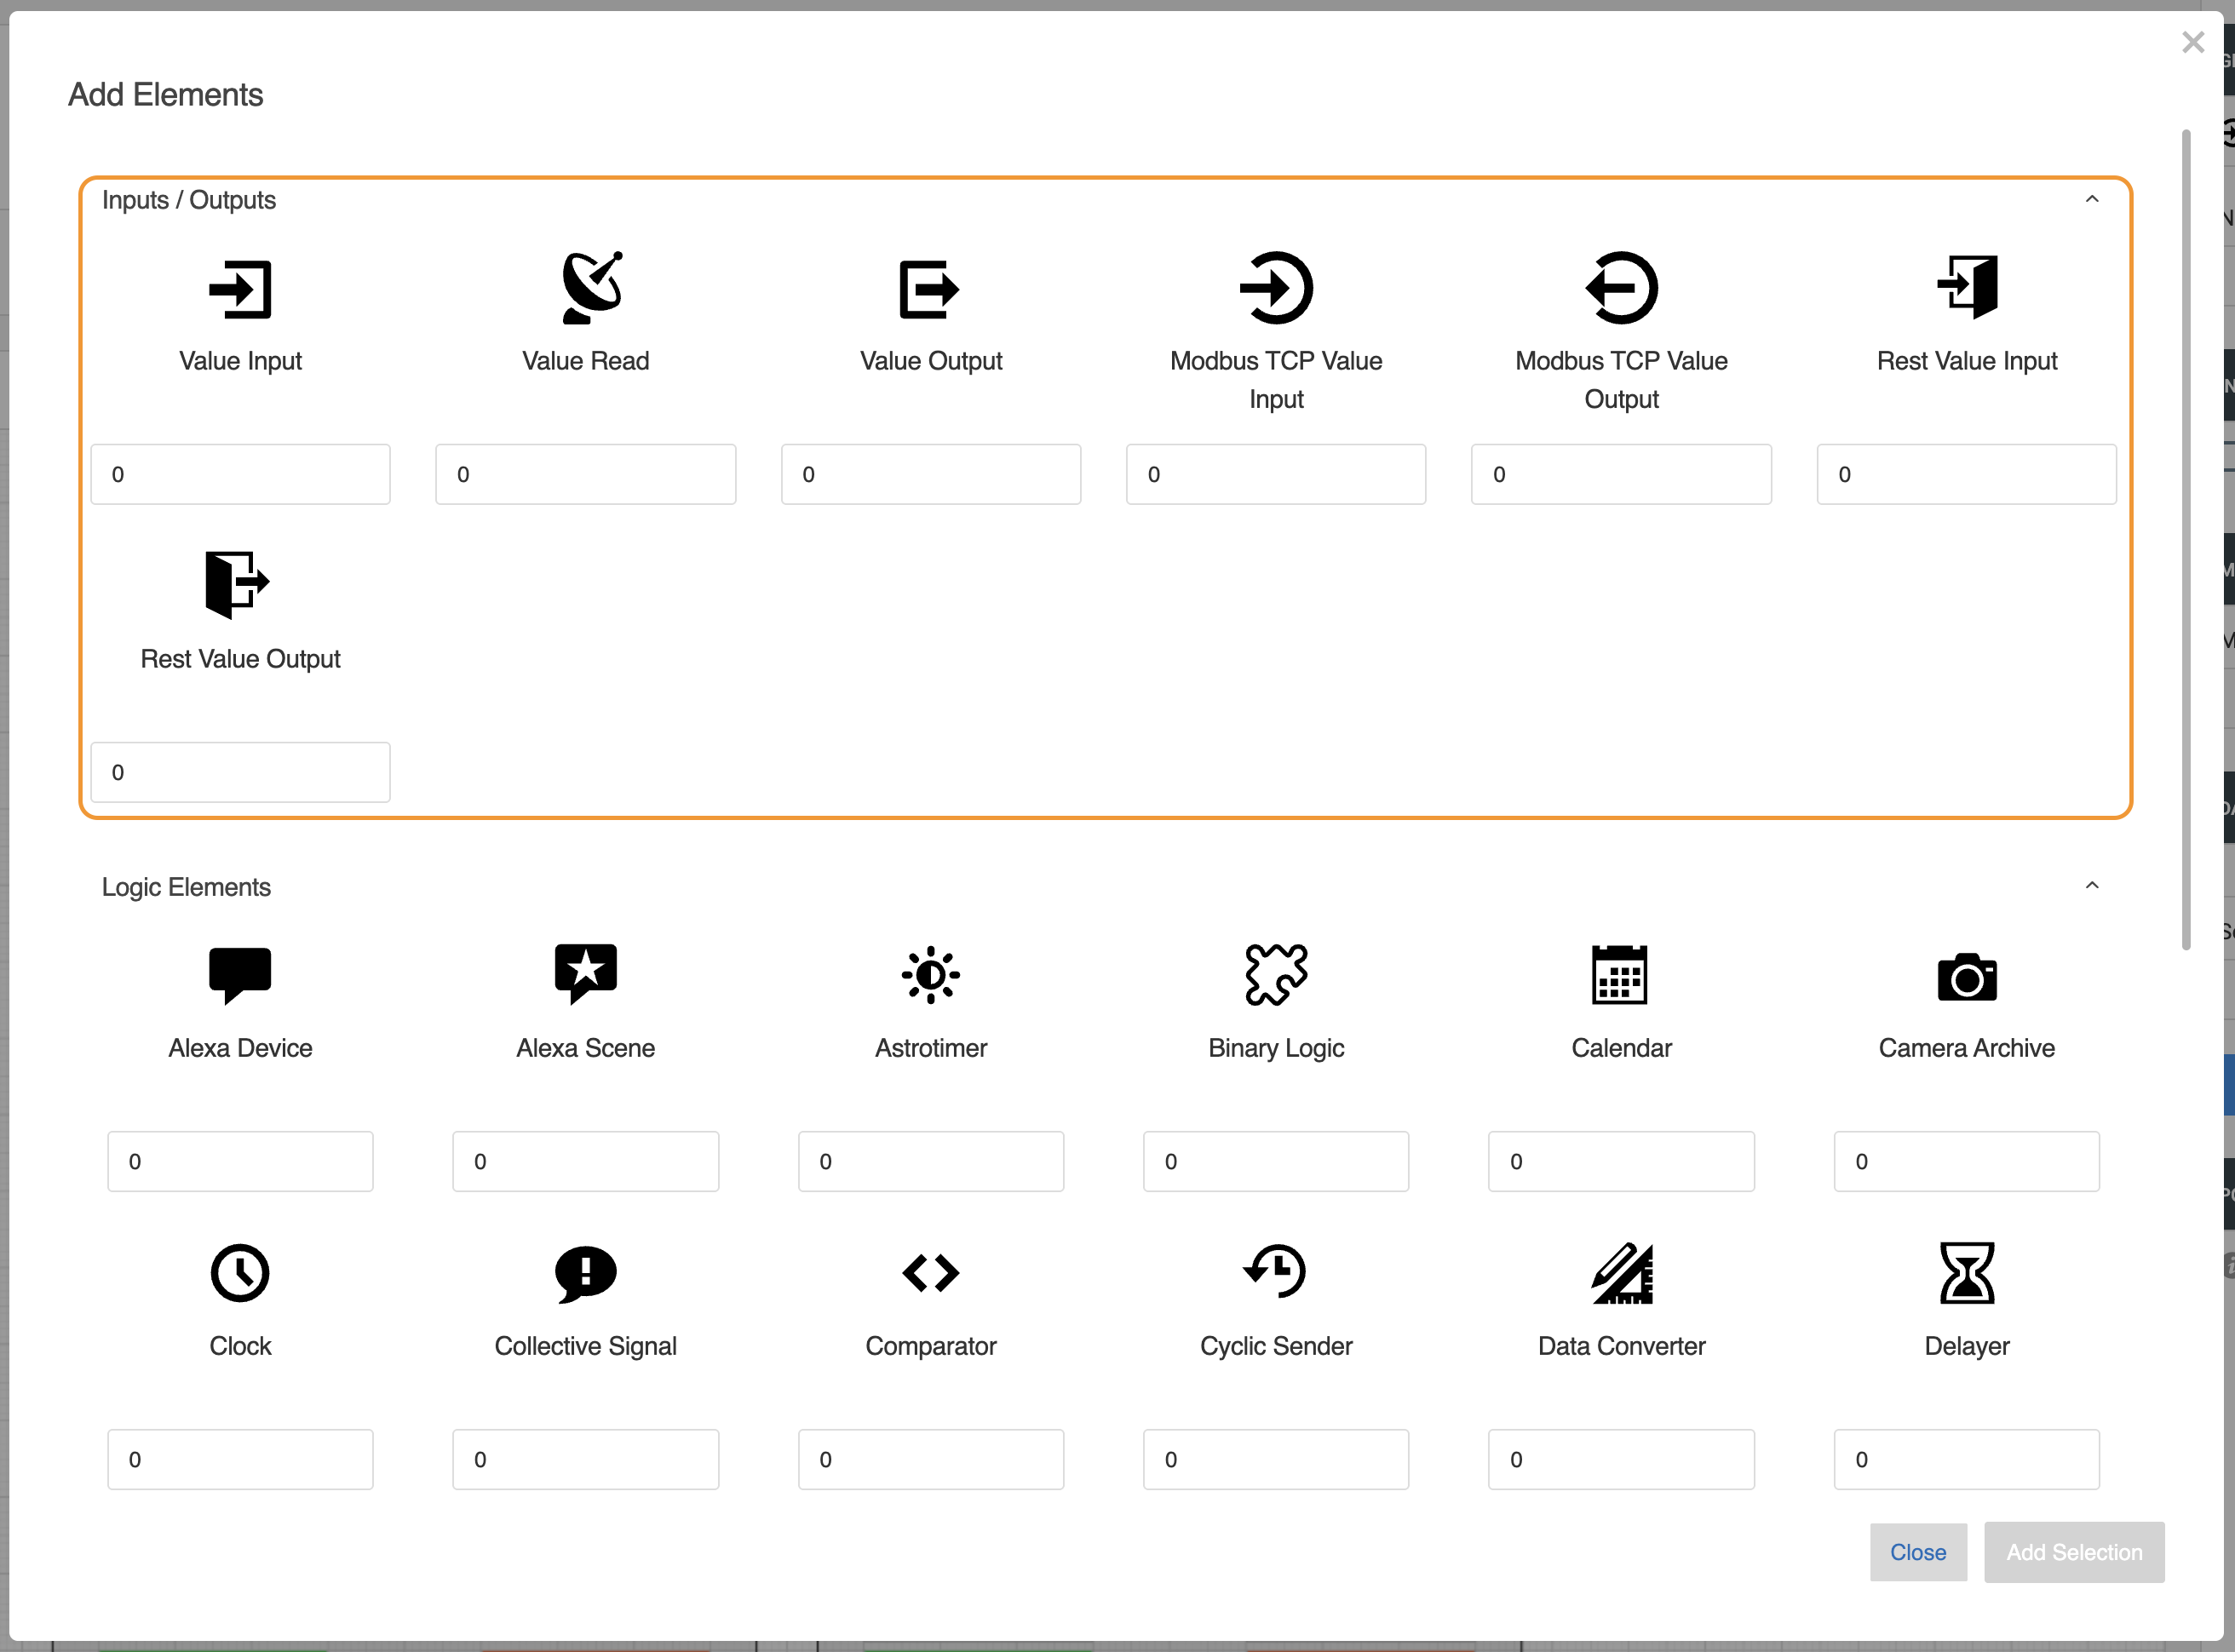
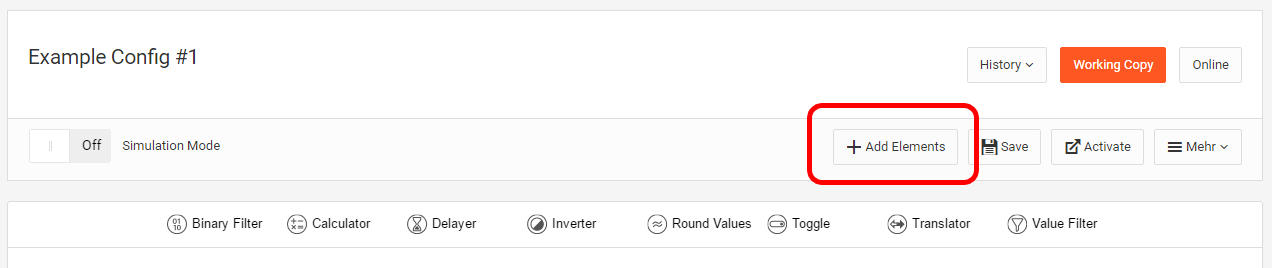
Add Logic Elements
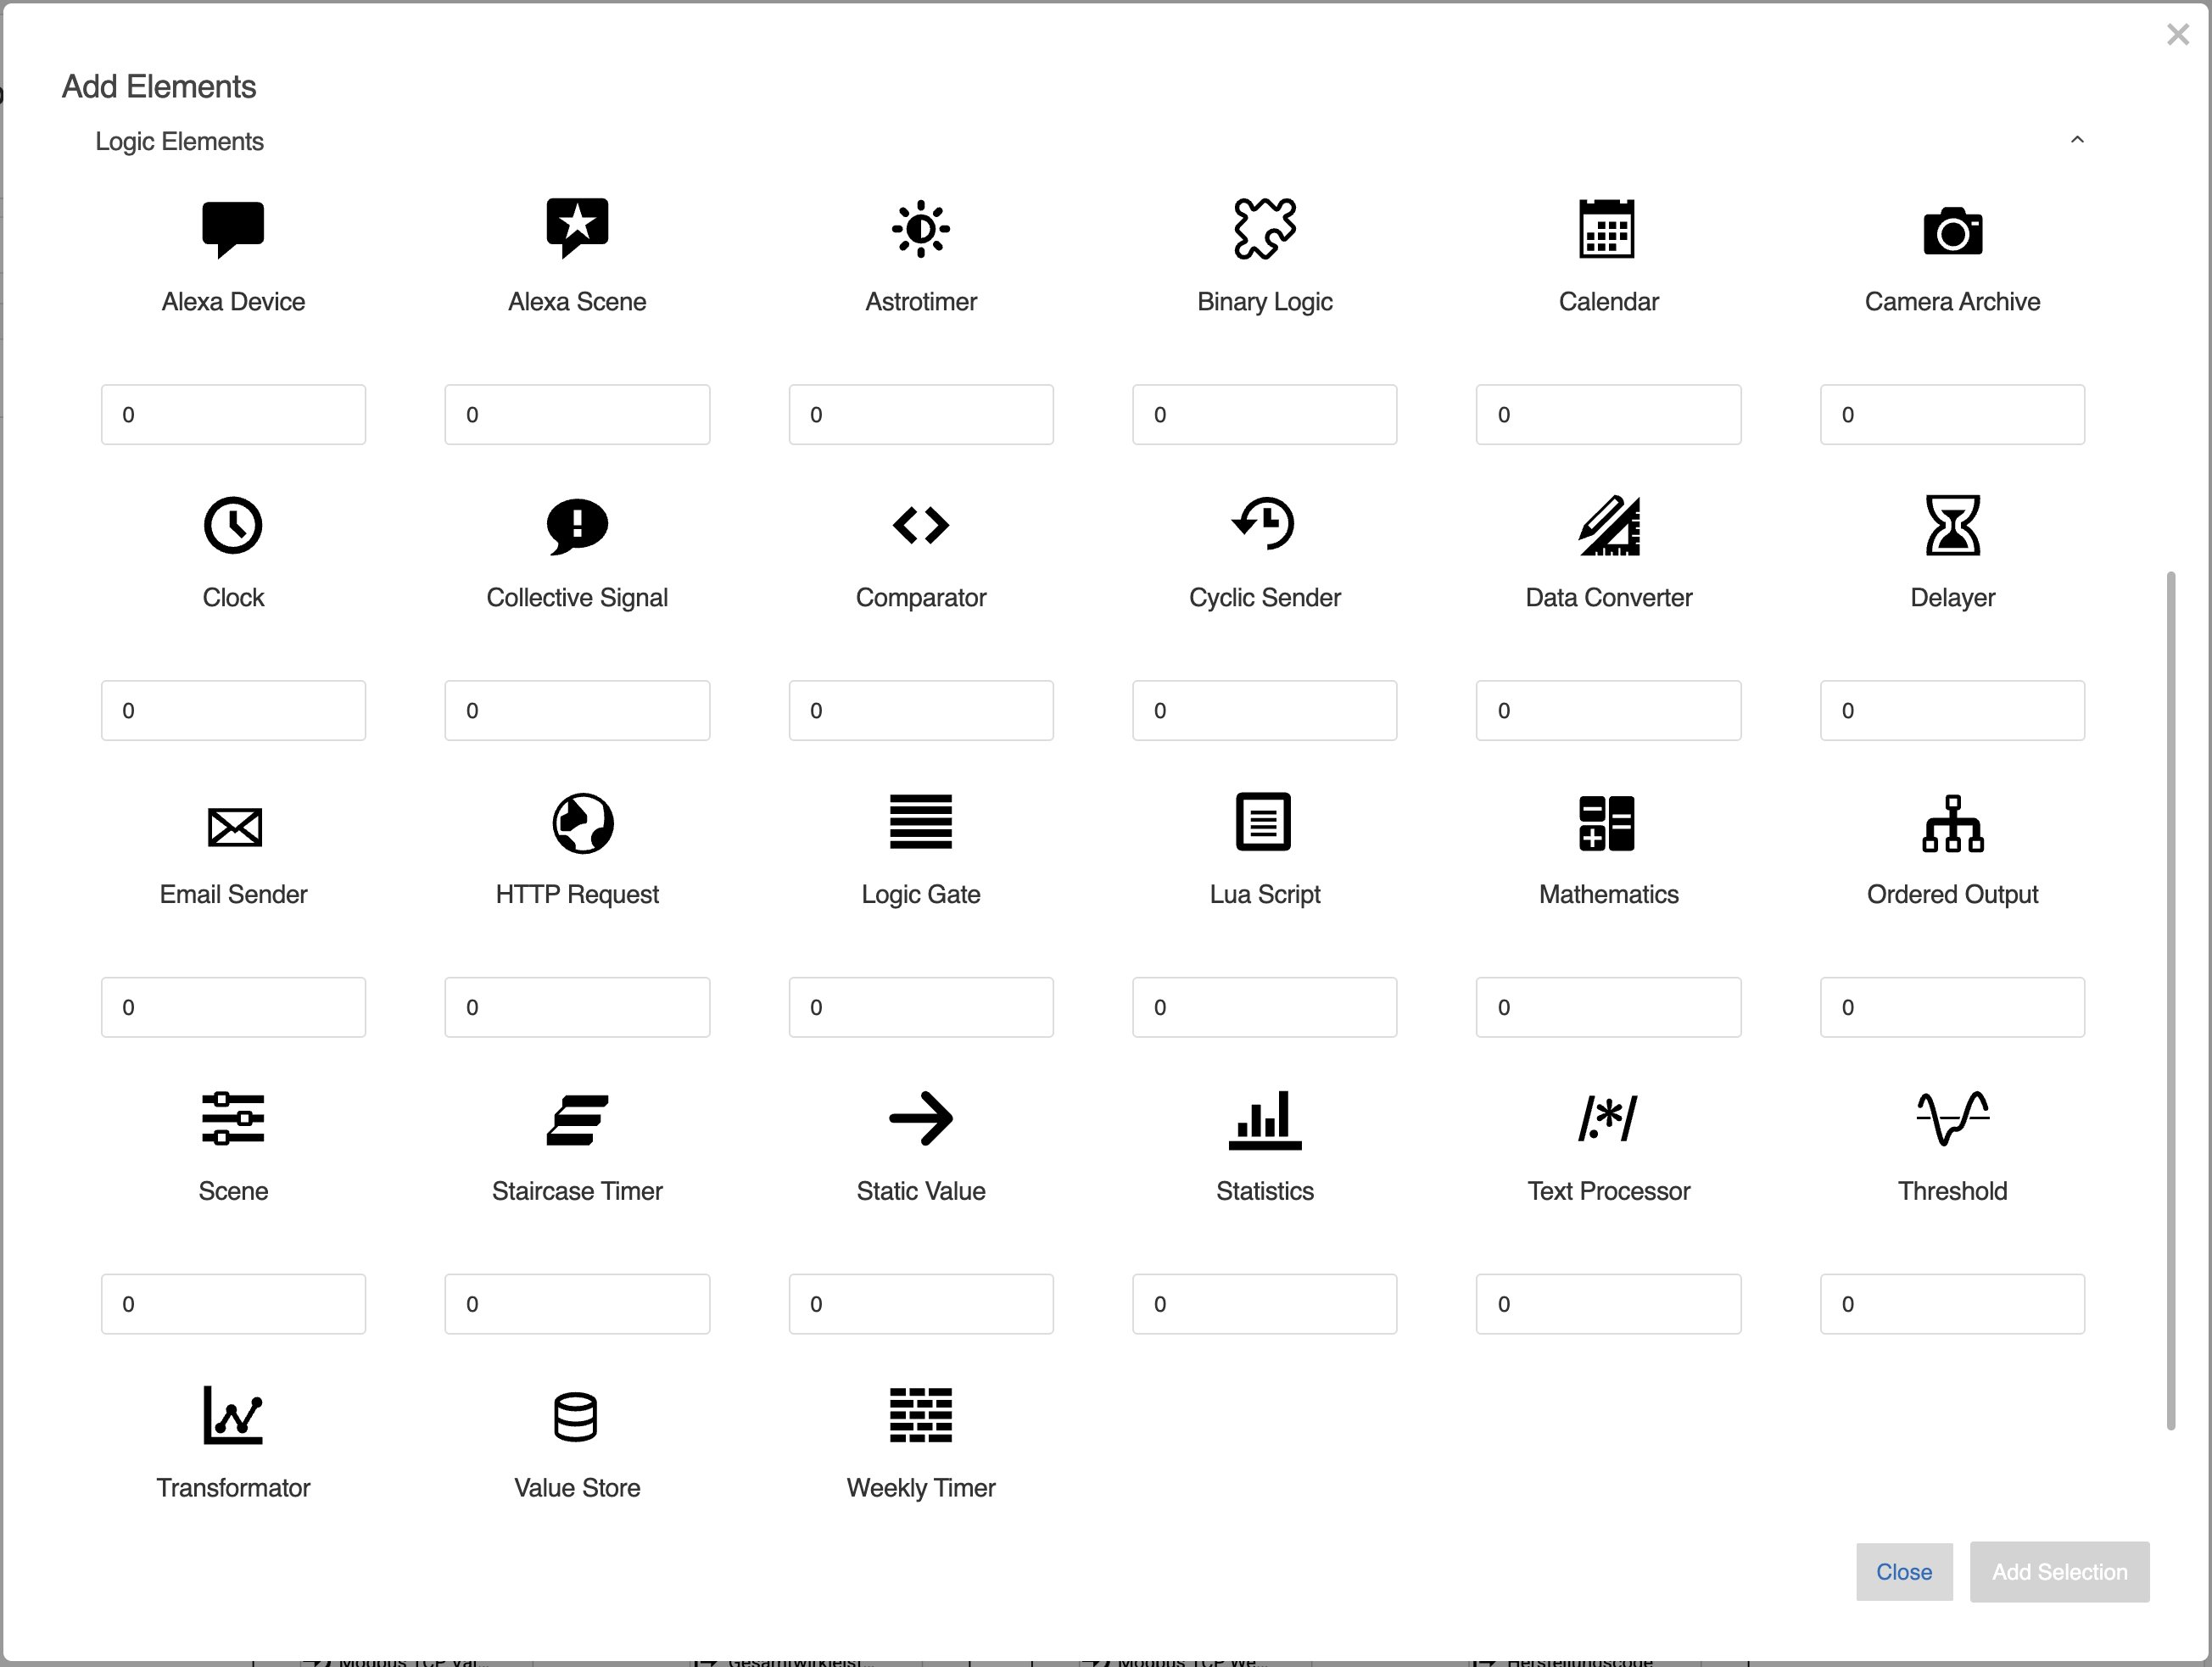
If you only want to add a single item of a specific type, simply double-click on the corresponding icon.
To add multiple items, enter the desired quantity into the appropriate input fields. You can quickly switch between fields using the Tab key.
There are several ways to change the value in an input field:
Enter the number manually,
use the arrows next to the input field,
or scroll with the mouse wheel or use the arrow keys on your keyboard once the field is active.
The fastest way is to navigate through all fields using the Tab key and adjust the values with the arrow keys.
As soon as at least one item has a quantity greater than 0, the “Add Selection” button becomes active.
The individual logic element types are described in more detail in chapter Logik elements.
Add Tools
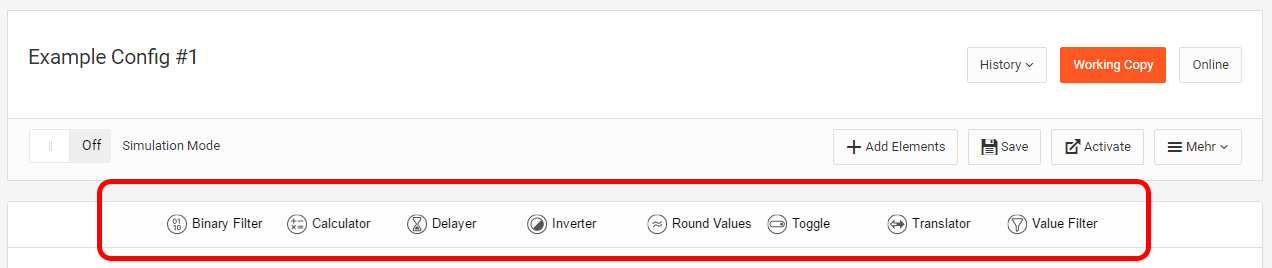
Click the desired tool and drag it to your logic group. You may also drag a tool directly to a connection. The individual tools are described in more detail in chapter Tools.
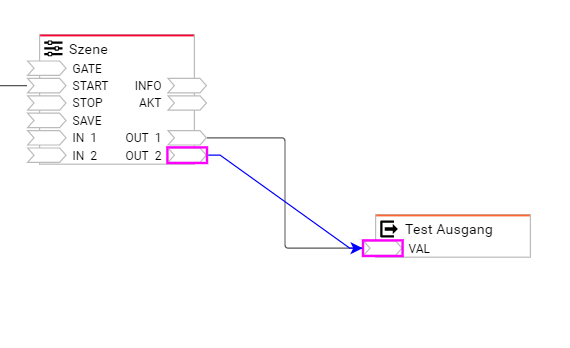
Draw a Connection
Simulate a Logic Group

Simulation includes the following functions
Defined start date
Start/stop
Time lapse
To send values to your logic group during the simulation, simply double-click on the value inputs in the logic group.
Please note that in order to save resources, some logic elements (e.g. timer, week clock, ...) only work when outputs are linked to others. Details can be found in the individual descriptions.
The logic elements Alexa Device, Alexa Scene, http-Request and LUA Script can currently not be simulated.
Activate a Logic Group
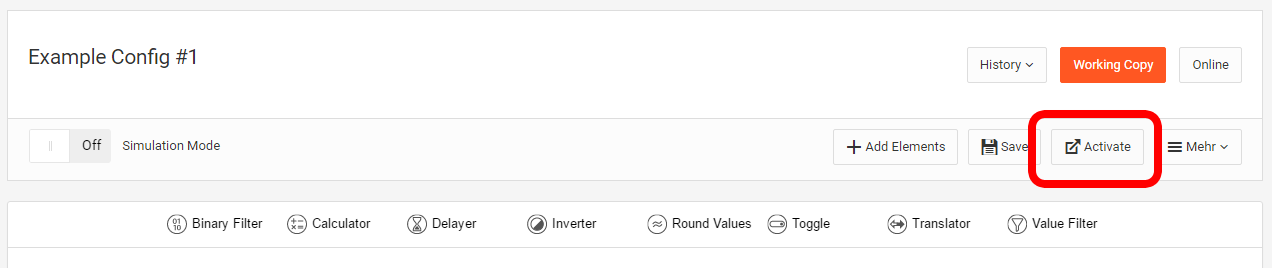
Only when a logic group is activated does it become active in the system and communicate with the KNX bus. Prior to this, the respective logic group only exists within the working copy. The ‘Online’ button can be clicked for active logic groups.
The active status of the logic group can be viewed there, which does not have to be identical to the working copy. There you also have the option of querying the status of the logic group in the device. The result is displayed in the respective logic elements (as in simulation mode).
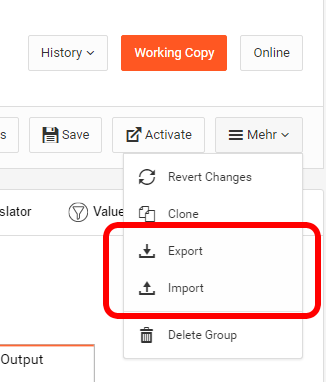
Import / Export
With the help of the Import / Export function, individual logic groups can be saved and restored. This way, logic groups can be reused in other devices as well.
///