
To create a new project, open the menu item "+ Add project". The following options are available:
-
The new project can be created completely,
-
based on "From project database (ETS terminal)",
-
with the help of an "Import (PROJECTMANAGER)".
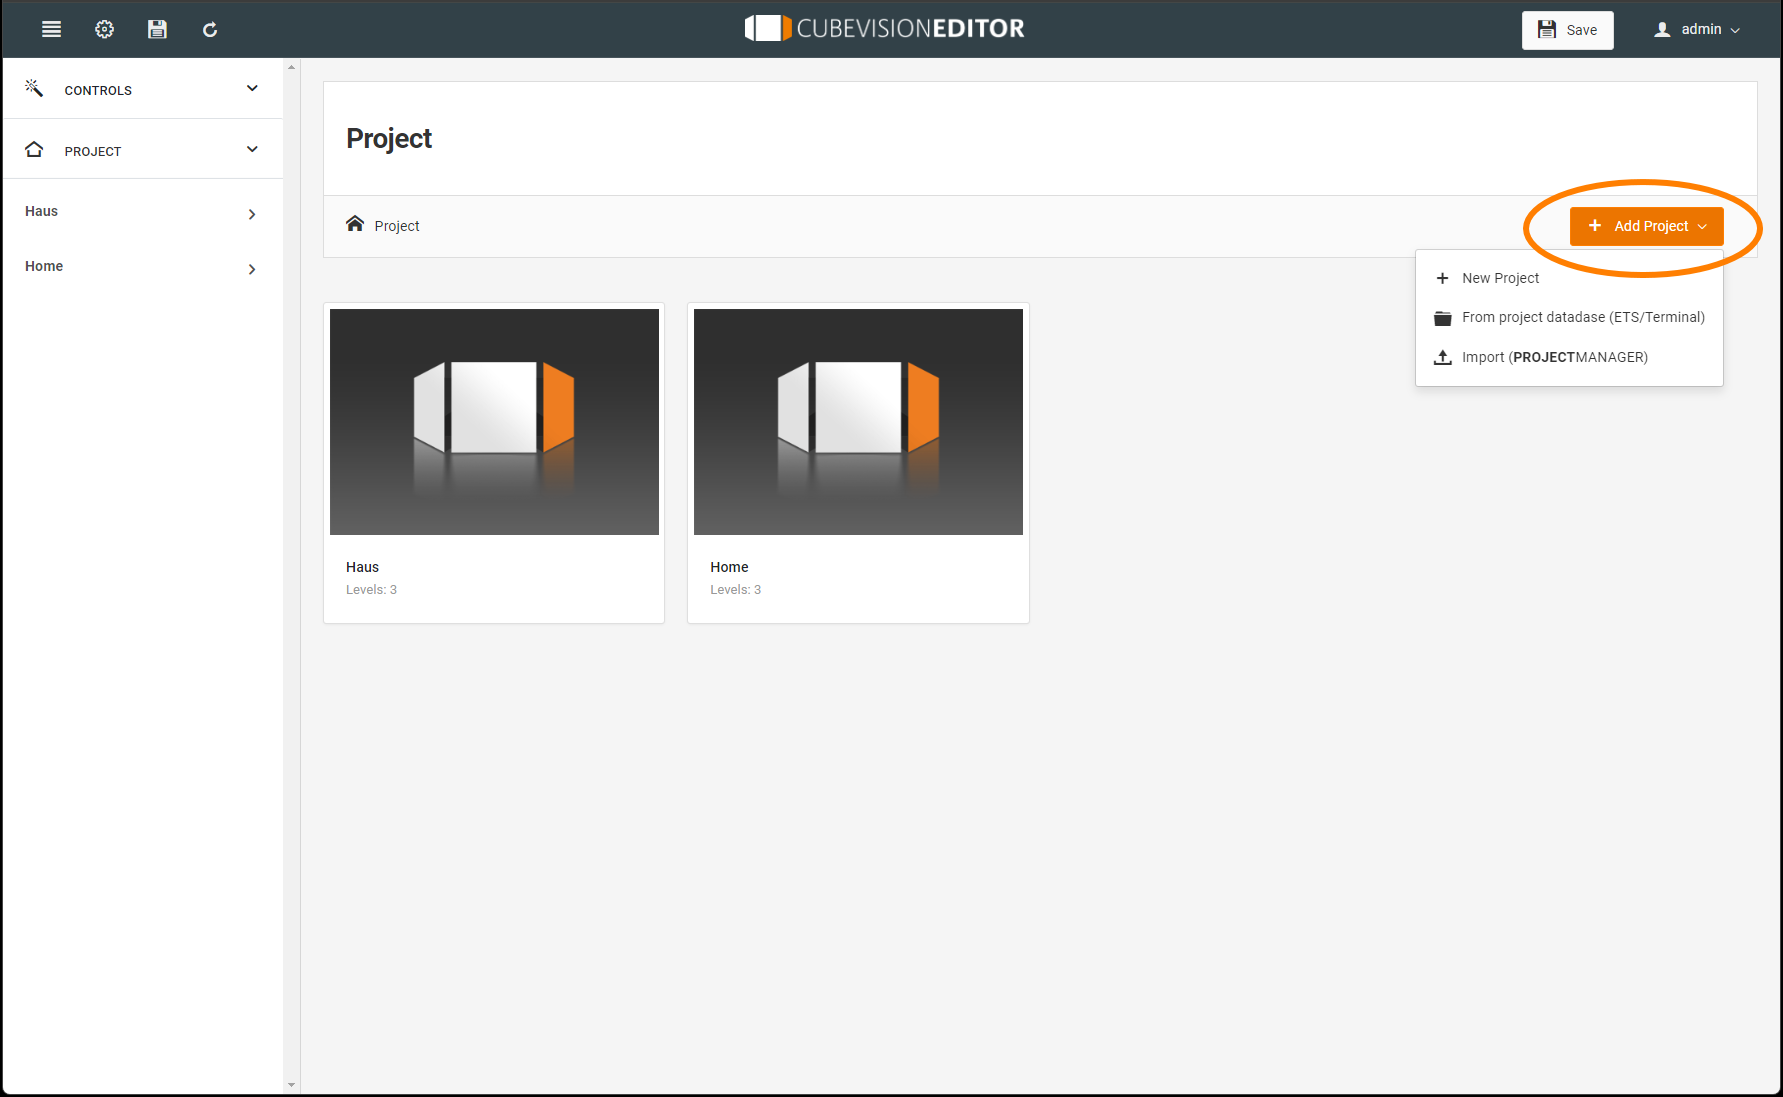
This creates a new CUBVISION project file and a new ICON for the new project is created on the screen.
On the left side of the display, the entire structure of the project is shown and displayed in a tree structure. You can use this structure to access each displayed stage of the project for editing.
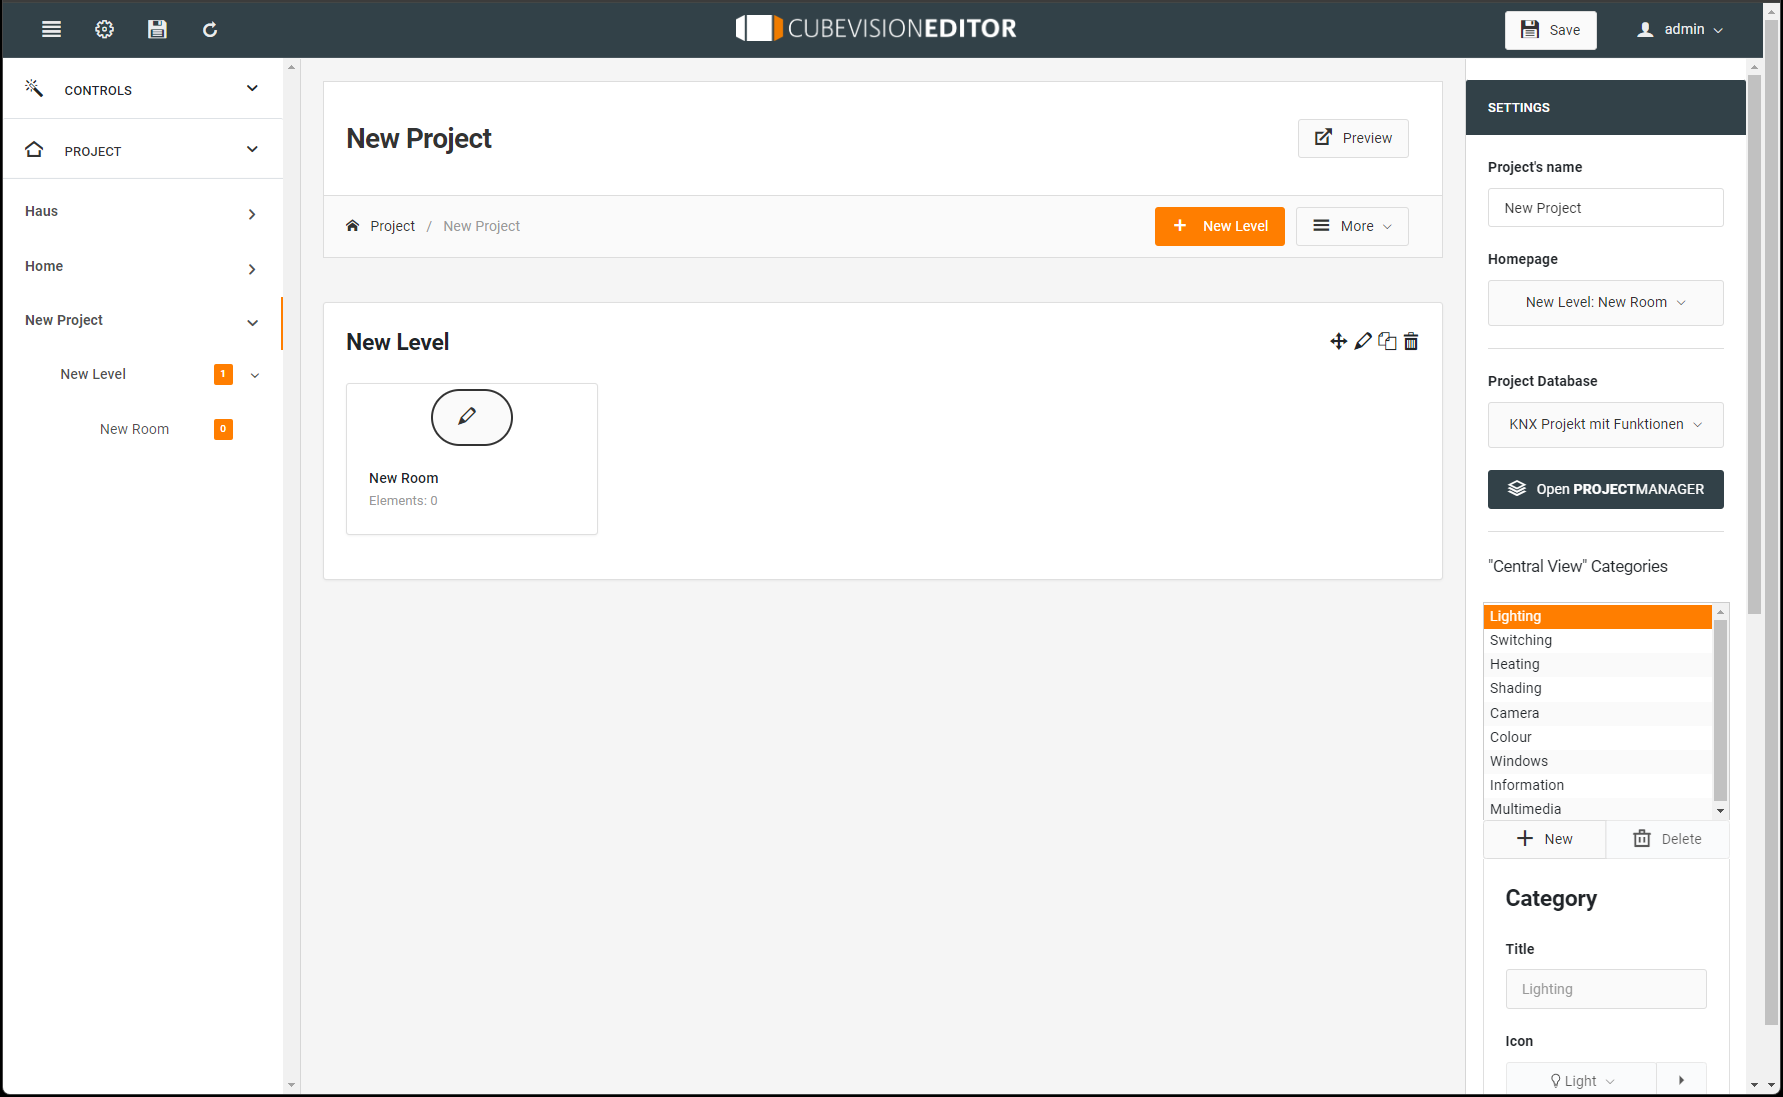
After the project has been created, the project can be edited. This includes editing the settings for the project:
-
Name of the project
-
Start page when opening the project,
-
Assignment to a project database
-
Creating and editing the categories for the "Central View"
-
But also information for diagrams that are used in the visualization.
If you do not yet have this information, you can return to this area at any time to continue editing.
After the project has been created, it can be edited.
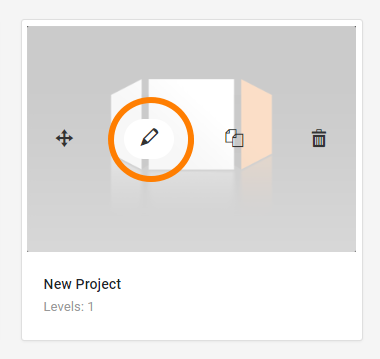
Move the mouse to the icon of the project and the menu appears with:
-
Move icon,
-
Edit project,
-
copy project,
-
and delete.
Activate Edit to enter the building structure.
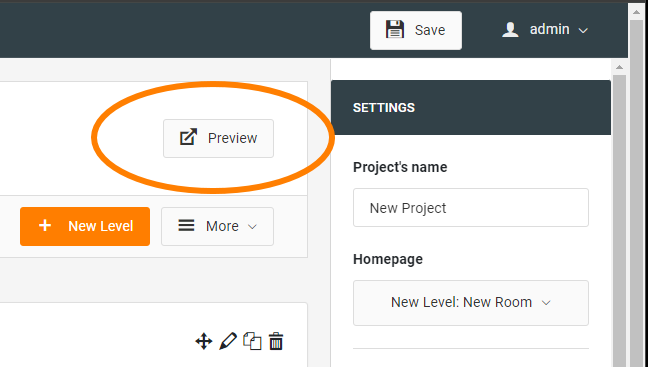
When editing the project, you have the option of viewing and checking your settings and changes in the CUBEVISION visualization in an active preview.
Project (Building)
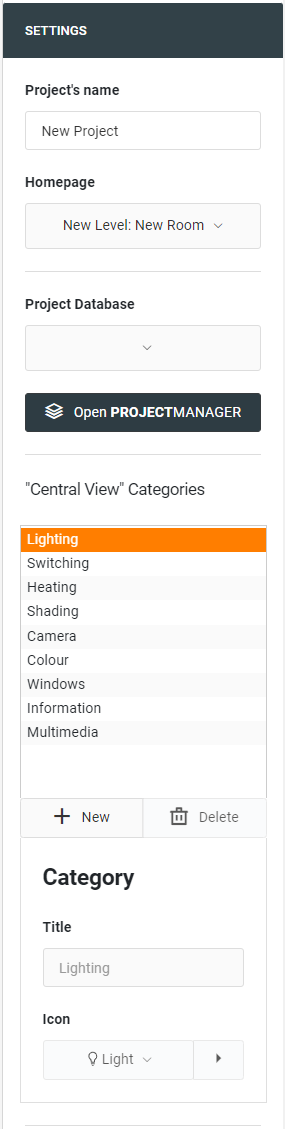
The settings for the project can be edited on the right side:
Project’s name: Assign a name for the project or the building here.
Homepage: Define here the start page that is displayed when opening the visualisation or the page for the return, if such a function has been activated, in case of inactivity.
Project database: If a project database already exists, which has been imported for example, you can select the project database here.
"Central View" Categories: Manage the categories for the "Central View" here. Additional categories can be created for the prepared categories, which are displayed in the visualisation with a selected icon. Categories that are not needed can also be deleted in the administration.
Please note that the existing standard categories for the "Central-View" cannot be changed or deleted!
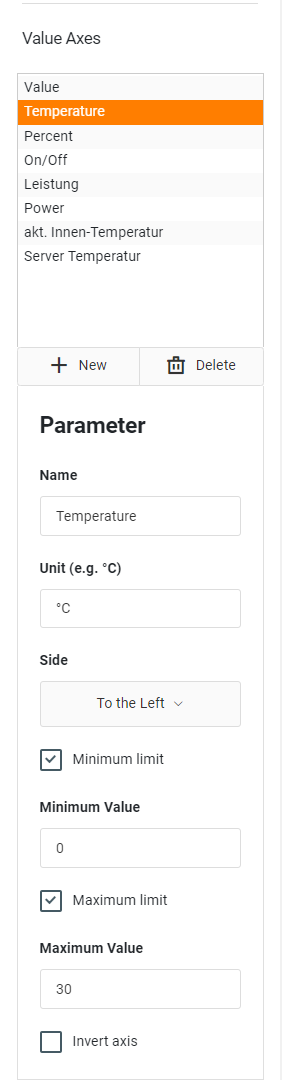
For the use of diagrams in the project, further basic settings can be made here in the "Settings" menu:
Value Axes: If the standard selection for a value designation is not sufficient, further value designations can be added via "+":
Parameter
Name: e.g. Value for energy consumption.
Unit: Assign the corresponding unit to these values, e.g. °C.
Side: Is the position in the diagram where the information about the value should be placed; left of right.
Minimum Limit, Maximum Limit: Activate these fields if you want to set up corresponding intervals. When activating the function, an input field is opened.
Invert Axis: Activate this field, if necessary, e.g. in energy grids the energy yield of a PV system is displayed as a negative value (energy return flow or feed-in). In the graphical representation, however, the yield should be shown as a positive graph.
///